


You don’t need a yard to grow food or flowers, because gardening ideas at home for small spaces work on a sunny windowsill, a balcony rail, or a bare wall. A single 12-inch pot holds one tomato plant that yields fruit all summer; three 6-inch pots fit on a standard windowsill and grow enough basil for weekly meals. The real limit isn’t square footage—it’s light.
What container gardening at home actually means
Container growing is the practice of raising plants in pots, bags, or boxes instead of open ground. It’s the method behind every balcony herb patch, windowsill salad bowl, and patio tomato vine. You use it when you have no yard, poor native soil, or only a few square feet of concrete to work with.
The one thing people get wrong is treating a pot like a miniature garden bed. Soil in a container behaves differently than dirt in the earth. In the ground, roots spread out to find water. In a pot, they hit a wall and circle back. That changes how often you water, what mix you buy, and how much room each plant needs.
A plant drinks through its roots and breathes through them too. Potting mix must hold moisture while leaving gaps for air. Garden soil packs down tight in a container, cuts off oxygen, and drowns the roots. That’s why bagged potting mix exists—it contains peat moss or coconut coir for water retention, plus perlite or vermiculite to keep air pockets open.
This approach fits renters, apartment dwellers, and anyone whose outdoor space is just a paved slab. It doesn’t fit someone who wants to grow fifty pounds of potatoes or feed a family of six from scratch. Those goals demand ground space that pots simply can’t replace.
The trade-off is clear: you gain total control over soil quality and placement, but you take on the job of watering by hand every single day in summer. There’s no rain reaching roots buried inside a plastic rim. You’re the weather system now.
Steps to start a small-space garden
Follow these steps in order. Each one includes the exact sizes and amounts you need for a basic setup of three pots on a balcony or patio.
- Pick your spot and measure the light. Set a timer when sunlight first hits the surface, and stop it when shade takes over. You need that total number before buying any seeds. Less than four hours means lettuce, spinach, and mint. Six hours or more opens up tomatoes, peppers, and basil.
- Choose the right containers. Get two 5-gallon buckets (about 12 inches wide and deep) for large plants like tomatoes, and four 1-gallon pots (about 6 to 8 inches wide) for herbs. Every single pot must have holes in the bottom. Without drainage, water pools at the base and rots the roots within days.
- Buy potting mix, never garden soil. You’ll need roughly two-thirds of a cubic foot of mix per 5-gallon bucket. Look for a bag labeled “potting mix” containing peat moss or coconut coir, perlite, and compost. Don’t dig dirt from outside—it compacts hard in containers and blocks root growth.
- Fill the pots correctly. Leave exactly 1 inch of empty space between the soil surface and the rim. This gap stops water from spilling over the edge when you pour it. Press the mix down gently with your hands, but don’t pack it tight. Roots need loose material to push through.
- Plant at the right depth. For seeds, check the packet—it usually says to bury them twice as deep as the seed is wide. For nursery transplants, dig a hole in the mix just big enough for the root ball. Place the plant so the top of the root ball sits level with the surrounding soil surface.
- Water immediately after planting. Pour slowly until liquid drips from the bottom holes. This first soaking settles the mix around the roots and removes hidden air pockets. For a 5-gallon pot, expect to pour several gallons slowly until water runs out the bottom.
- Set a daily checking routine. Stick your index finger 1 inch into the soil every morning. If it feels dry at that depth, water until it runs out the bottom again. If it feels damp, skip watering today. Overwatering kills more container plants than drought does.
The single judgment call that decides success is matching the plant size to the pot volume. A full-size tomato variety crammed into a 1-gallon pot will stunt, drop its flowers, and yield nothing. If you’re using pots under 3 gallons, buy “determinate” or “patio” seed varieties bred to stay under 2 feet tall. If you have 5-gallon buckets, you can safely grow standard “indeterminate” vines. Read the seed packet’s mature height before choosing.
Container garden settings and measurements
These numbers tell you exactly what size pot, how much soil, and what spacing each common crop demands. Keep this table handy when you shop for supplies or arrange your balcony layout.
| Situation | What to use | How long | What to watch for |
|---|---|---|---|
| Growing cherry tomatoes | 5-gallon pot (12+ inches deep) | 70-80 days to first fruit | Yellow lower leaves mean nitrogen deficiency; add liquid fertilizer every two weeks |
| Planting basil or cilantro | 1-gallon pot (6-8 inches wide) | 30-45 days to first harvest | Bolting (sudden flower stalks) happens fast in heat over 85°F; move to afternoon shade |
| Sowing loose-leaf lettuce | Window box (6 inches deep) | 40-50 days to full leaves | Bitter taste means the soil dried out completely; keep mix constantly moist |
| Rooting green onions | 6-inch round pot | 21-30 days for regrowth | Mushy stems at the soil line signal rot; reduce watering frequency immediately |
| Climbing pole beans | 3-gallon pot plus a 4-foot trellis | 55-65 days to pods | Dropping blossoms occur if temperatures exceed 90°F consistently during the day |
| Growing radishes | Shallow tray (4 inches deep) | 25-30 days to pull | Woody, spicy roots mean they stayed in the soil past their harvest window |
The times listed above assume daytime temperatures between 65°F and 80°F. If your local climate stays cooler, add one to two weeks to the harvest estimates. If you’re growing indoors under artificial lights, the timeline shifts based on wattage. Check the specific light requirements printed on your seed packet, since every crop responds differently to artificial brightness.
Getting better results from small pots
Preparation and soil choices
The difference between a thriving balcony garden and a dying one starts before the first seed goes in. Experienced growers rinse new terracotta pots with plain water to remove kiln dust, which can alter soil pH. They also line the bottom of fabric grow bags with a single layer of newspaper to stop fine soil particles from washing out onto the patio during heavy watering.
Soil choice matters just as much. Bagged potting mix straight from the store is often bone dry and repels water initially. To fix this, dump the mix into a large tub, add water slowly, and turn it with a trowel until it feels like a wrung-out sponge. Only then should it go into your containers. Skipping this step leaves dry pockets where roots shrivel even though the surface looks wet.
Spacing is another area where precision pays off. In a 12-inch pot, plant exactly one tomato or pepper. For leafy greens in that same pot, thin the seedlings to four plants spaced 3 inches apart once they sprout their second set of leaves. Crowding forces roots to compete for limited nutrients, resulting in spindly stems and tiny harvests.
Daily habits and mid-season checks
Once plants are established, the order of your daily tasks prevents problems. Water first thing in the morning, before the sun heats the soil. Watering at night leaves foliage damp for hours, inviting fungal diseases like powdery mildew. Always pour directly onto the soil surface rather than showering the leaves from above.
Check the weight of smaller pots by lifting them slightly. A 1-gallon pot that feels surprisingly light needs water immediately, regardless of what the finger test says. As plants grow larger, their root systems consume moisture faster than the surface soil indicates.
Midway through the season, examine the drainage holes. If white crust builds up around them, mineral salts from tap water are accumulating. Flush the pot by pouring three times its volume of plain water through the soil in one session. This washes excess salts out before they burn the root tips.
Never fertilize a dry pot—always water first, wait an hour, then apply liquid feed. Fertilizer hitting parched roots causes chemical burns that show up as brown, crispy leaf edges within days.
When container plants struggle
Plants send visible signals when something goes wrong in their root zone or environment. Matching the symptom to the cause saves crops that would otherwise die quietly on a windowsill. Use this table to diagnose issues quickly before they spread to neighboring pots.
| What you notice | What it usually means | What to do first |
|---|---|---|
| Leaves turn pale yellow starting at the bottom | Nitrogen deficiency from depleted soil | Apply a balanced liquid fertilizer (like 10-10-10) diluted to half the label strength |
| Soil pulls away from the pot edges | Mix dried out completely and shrank | Submerge the entire pot in a basin of water for 30 minutes until bubbles stop rising |
| Tiny black flies hovering near the surface | Fungus gnats breeding in overly wet soil | Let the top 2 inches dry out completely before watering again; add coarse sand on top |
| White powdery spots on leaves | Powdery mildew caused by poor airflow | Move pots further apart and prune inner leaves blocking air circulation around stems |
| Plant wilts despite wet soil | Root rot from blocked drainage holes | Tip the pot sideways and clear debris from holes using a wooden skewer immediately |
| Stems stretch tall, thin, and pale | Insufficient light causing etiolation | Relocate to a brighter spot or add a grow light positioned 6-12 inches above foliage |
If fungus gnats persist after letting the soil dry, the infestation has moved deeper than surface treatments can reach. At that point, biological controls like beneficial nematodes applied to the soil are required. Applying chemical pesticides indoors without proper ventilation carries health risks, so consult your local university extension office for safe indoor pest management guidelines before spraying anything near living spaces.
Rules for balconies and rentals
Before setting up pots outdoors, you have to deal with building rules and local regulations. Ignoring them can cost you your deposit or force you to tear everything down overnight.
First, check your lease agreement. Landlords frequently ban hanging baskets on railings because they scratch paint or pose falling hazards to pedestrians below. If your lease restricts attachments, keep all containers resting flat on the floor surface instead of clamped to rails.
Weight limits matter more than people realize. Wet soil is incredibly heavy. A single 5-gallon bucket filled with saturated potting mix weighs roughly 40 pounds. Placing five of those on an older wooden balcony might exceed the structure’s load capacity.
Building codes specify minimum live loads for residential balconies, typically 40 pounds per square foot, but older buildings may fall short. Spread heavy pots along the wall where the building’s support beams anchor, rather than clustering them in the center of the span.
Drainage creates legal issues too. Letting muddy water drip onto a neighbor’s patio or a shared walkway violates most homeowners association covenants and municipal nuisance codes. Always place saucers under every pot. Empty those saucers thirty minutes after watering so roots don’t sit in stagnant pools.
If you plan to build a permanent wooden raised bed on a rooftop, you likely need structural approval from the building owner or city planning department. Constructing fixed structures without permits violates local building codes. For anything bolted down or built from lumber, contact your municipal zoning office first. Simple potted plants sitting freely on a surface rarely require permission, but permanent alterations always do.
Care after the first harvest
Getting one crop out of a pot isn’t the finish line. Keeping that soil alive determines whether your next planting succeeds or fails.
After pulling a finished plant, don’t throw the soil away. Dump it into a large bin, pick out the old root masses, and mix in fresh compost equal to about one-quarter of the total volume. This replenishes the organic matter that decomposed during the previous growing cycle. Store the refreshed mix in a covered plastic tote to keep rain and pests out until you’re ready to replant.
Pots themselves need cleaning between seasons. Scrub empty containers with a solution of one part household bleach to nine parts water. This kills lingering fungal spores and bacterial pathogens hiding in porous materials like terracotta. Rinse thoroughly and let them dry in the sun for a full day before refilling.
During winter, freezing temperatures crack ceramic and terracotta pots left outside. Bring them indoors or stack them upside down in a garage. Fabric grow bags can be folded flat and stored in a closet. If you leave plastic buckets outside, ensure they’re completely empty and flipped over so ice doesn’t expand inside them.
Record what worked. Write down the planting date, the variety name, and the harvest date on a piece of masking tape stuck to the pot’s rim. Next year, you won’t waste time guessing which tomato thrived in partial shade or which basil bolted too fast. That simple log becomes your personal reference manual.
Situations where pots are the wrong choice
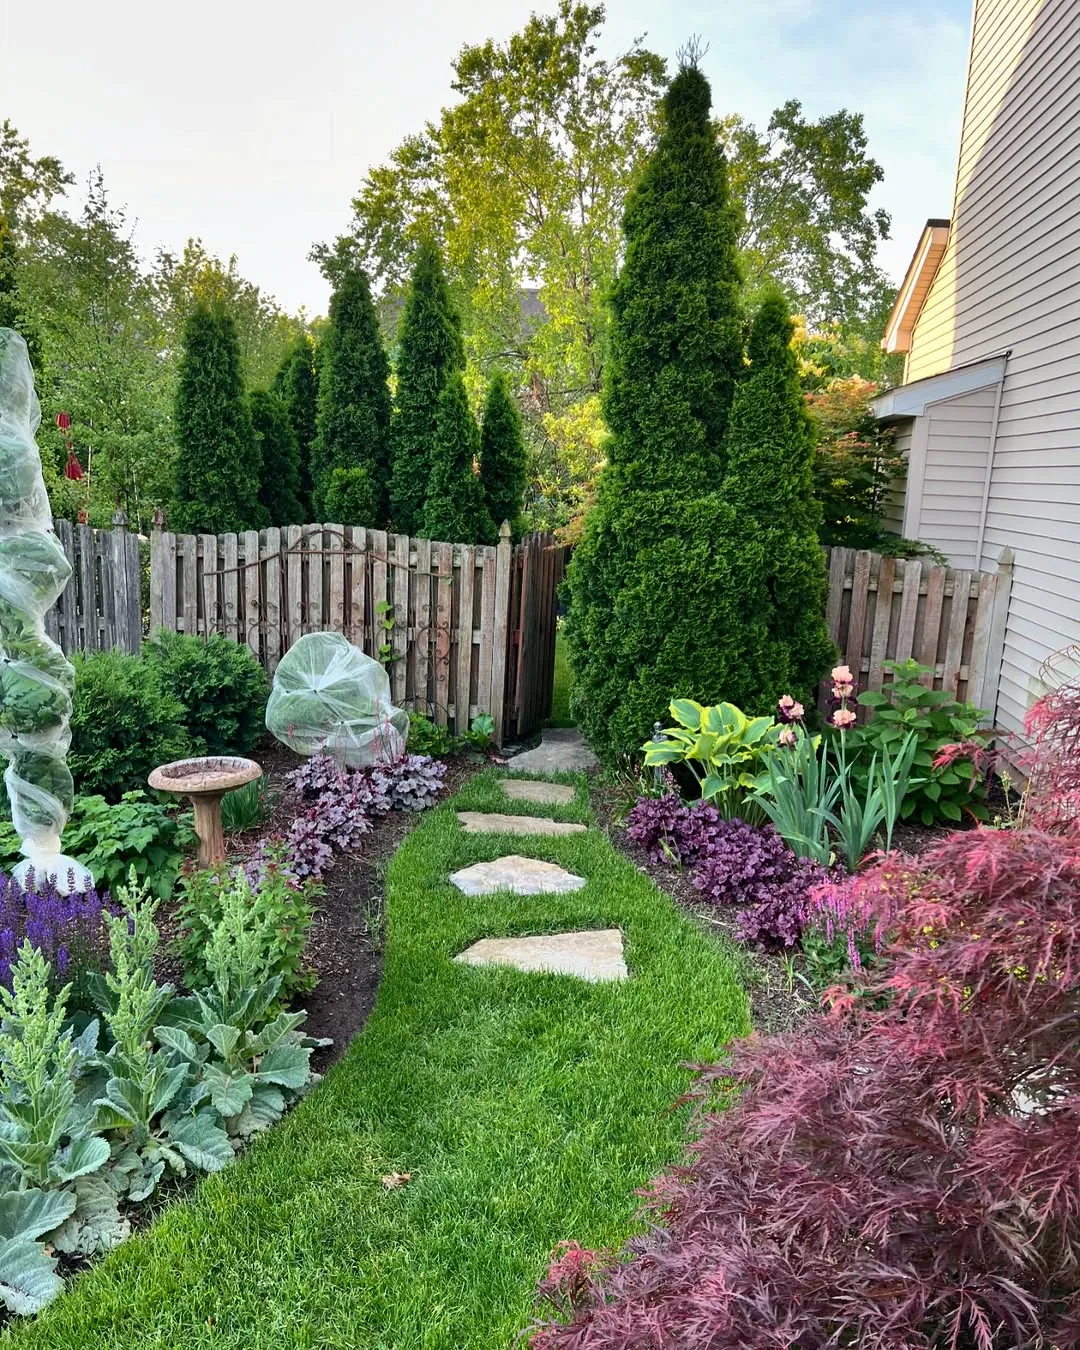
Not every gardening goal fits inside a container. Pushing the method past its physical limits wastes money and effort. Here are three cases where you should abandon pots entirely.
If you want to grow root vegetables for storage—like full-sized carrots, parsnips, or potatoes—you need depth that standard containers don’t provide. Carrots require at least 12 inches of unobstructed, loose soil to form straight roots. While shallow trays work for radishes, they produce stunted, forked carrots. Switch to an in-ground raised bed at least 18 inches deep for reliable root crops.
When your available space receives fewer than three hours of direct sunlight daily, edible gardening in containers becomes nearly impossible. Leafy greens tolerate low light, but they still need a minimum threshold to photosynthesize effectively. Below three hours, you’re better off growing ornamental shade-tolerant houseplants like pothos or ferns instead of expecting food production.
If your primary goal is feeding a household rather than supplementing meals with fresh herbs, container math works against you. A family of four eating salads daily needs dozens of lettuce heads maturing simultaneously. The sheer number of pots required occupies more floor space than a traditional garden bed. For bulk calorie production, community garden plots or allotment spaces offer the necessary square footage that balconies cannot.
Frequently asked questions
Can I grow vegetables indoors without sunlight?
Yes, but you must supply artificial light. A full-spectrum LED grow light delivering 20 to 40 watts per square foot, hung 6 to 12 inches above the plants, replaces the sun for leafy greens and herbs. Run the light for 14 to 16 hours daily using a cheap outlet timer. Fruiting plants like tomatoes need significantly more intense lighting setups to produce indoors.
How often should I water container plants?
Check daily, but water only when the top inch of soil feels dry to your finger. In peak summer heat, a 1-gallon pot outdoors might need watering every single morning. During cool, cloudy weeks, that same pot could go three or four days between soakings. Never follow a rigid calendar schedule—let the soil moisture dictate the timing.
Why are my potted herbs turning yellow?
Yellow leaves usually mean the roots are suffocating in waterlogged soil or starving for nitrogen. Stick your finger deep into the pot. If it’s soggy, you’re overwatering and need better drainage. If it’s merely moist and the plant still looks pale, apply a diluted liquid fertilizer formulated for leafy plants. Yellowing confined to the lowest, oldest leaves is often natural aging.
Is it safe to grow food in plastic buckets?
Yes, provided you use food-grade plastics marked with recycling codes 2 (HDPE), 4 (LDPE), or 5 (PP). Avoid reusing buckets that previously held paint, solvents, or industrial chemicals, as residues leach into the soil. Only use 5-gallon buckets explicitly labeled as food-grade for growing edible crops.
What happens if my pots don’t have drainage holes?
Water accumulates at the bottom with nowhere to go, creating an anaerobic swamp that rots roots rapidly. The plant will wilt despite wet soil because dead roots can’t absorb moisture. Drill holes yourself using a masonry bit for ceramic or a standard twist bit for plastic. Aim for at least four quarter-inch holes spaced evenly across the base.
How many plants fit in a single container?
One large plant like a tomato, pepper, or eggplant per 5-gallon pot. For smaller crops, follow the seed packet’s spacing rule minus one inch, since container soil is richer. A 12-inch wide pot comfortably holds four lettuce plants spaced 3 inches apart, or about sixteen radishes spaced 1 inch apart. Overcrowding guarantees weak stems and poor yields.
Do I need special soil for small-space gardening?
You absolutely need potting mix, not topsoil or garden dirt. Topsoil compacts into a solid brick inside a container, cutting off oxygen to roots. Buy a bagged mix containing peat moss or coconut coir blended with perlite to create the airy structure roots require.
{“@context”:”https://schema.org”,”@type”:”FAQPage”,”mainEntity”:[{“@type”:”Question”,”name”:”Can I grow vegetables indoors without sunlight?”,”acceptedAnswer”:{“@type”:”Answer”,”text”:”Yes, but you must supply artificial light. A full-spectrum LED grow light delivering 20 to 40 watts per square foot, hung 6 to 12 inches above the plants, replaces the sun for leafy greens and herbs. Run the light for 14 to 16 hours daily using a cheap outlet timer. Fruiting plants like tomatoes need significantly more intense lighting setups to produce indoors.”}},{“@type”:”Question”,”name”:”How often should I water container plants?”,”acceptedAnswer”:{“@type”:”Answer”,”text”:”Check daily, but water only when the top inch of soil feels dry to your finger. In peak summer heat, a 1-gallon pot outdoors might need watering every single morning. During cool, cloudy weeks, that same pot could go three or four days between soakings. Never follow a rigid calendar schedule—let the soil moisture dictate the timing.”}},{“@type”:”Question”,”name”:”Why are my potted herbs turning yellow?”,”acceptedAnswer”:{“@type”:”Answer”,”text”:”Yellow leaves usually mean the roots are suffocating in waterlogged soil or starving for nitrogen. Stick your finger deep into the pot. If it’s soggy, you’re overwatering and need better drainage. If it’s merely moist and the plant still looks pale, apply a diluted liquid fertilizer formulated for leafy plants. Yellowing confined to the lowest, oldest leaves is often natural aging.”}},{“@type”:”Question”,”name”:”Is it safe to grow food in plastic buckets?”,”acceptedAnswer”:{“@type”:”Answer”,”text”:”Yes, provided you use food-grade plastics marked with recycling codes 2 (HDPE), 4 (LDPE), or 5 (PP). Avoid reusing buckets that previously held paint, solvents, or industrial chemicals, as residues leach into the soil. Only use 5-gallon buckets explicitly labeled as food-grade for growing edible crops.”}},{“@type”:”Question”,”name”:”What happens if my pots don’t have drainage holes?”,”acceptedAnswer”:{“@type”:”Answer”,”text”:”Water accumulates at the bottom with nowhere to go, creating an anaerobic swamp that rots roots rapidly. The plant will wilt despite wet soil because dead roots can’t absorb moisture. Drill holes yourself using a masonry bit for ceramic or a standard twist bit for plastic. Aim for at least four quarter-inch holes spaced evenly across the base.”}},{“@type”:”Question”,”name”:”How many plants fit in a single container?”,”acceptedAnswer”:{“@type”:”Answer”,”text”:”One large plant like a tomato, pepper, or eggplant per 5-gallon pot. For smaller crops, follow the seed packet’s spacing rule minus one inch, since container soil is richer. A 12-inch wide pot comfortably holds four lettuce plants spaced 3 inches apart, or about sixteen radishes spaced 1 inch apart. Overcrowding guarantees weak stems and poor yields.”}},{“@type”:”Question”,”name”:”Do I need special soil for small-space gardening?”,”acceptedAnswer”:{“@type”:”Answer”,”text”:”You absolutely need potting mix, not topsoil or garden dirt. Topsoil compacts into a solid brick inside a container, cutting off oxygen to roots. Buy a bagged mix containing peat moss or coconut coir blended with perlite to create the airy structure roots require.”}}]}