



Growing fresh herbs on your kitchen counter or desk transforms how you cook, and setting up a tabletop herb garden is one of the most rewarding small-scale projects you can undertake. Whether you have a tiny apartment balcony or just a sunny windowsill, cultivating basil, mint, chives, and other culinary staples indoors puts flavor within arm’s reach. This guide covers everything from choosing containers to troubleshooting yellow leaves, ensuring your indoor plants thrive year-round without requiring a backyard.
Key Takeaways
- Most culinary herbs require at least six hours of direct sunlight daily, making south-facing windows or full-spectrum LED grow lights essential for healthy growth.
- Terracotta pots with drainage holes prevent root rot better than sealed glass jars, as excess water must escape the soil profile.
- Starting from nursery transplants yields harvestable leaves in two weeks, while seeds take four to eight weeks to establish enough foliage for cutting.
- Watering only when the top inch of soil feels dry prevents overwatering, which is the leading cause of indoor herb failure.
- Regular harvesting encourages bushy growth; never remove more than one-third of a plant’s total foliage at a single time.
- A basic setup costs between $15 and $75 depending on whether you use seeds or live starter plants and natural versus artificial light.
Choosing Your Tabletop Herb Garden Setup
Selecting the right configuration depends entirely on your available space and the specific herbs you want to grow. A tabletop herb garden doesn’t need to be elaborate to be highly productive. You can arrange individual pots on a decorative tray, install a tiered shelving unit, or use a specialized hydroponic countertop system. The goal is to maximize light exposure while keeping the footprint small enough to fit comfortably on a standard dining table, kitchen island, or deep windowsill.
Individual Pots Versus Shared Planters
Planting each herb in its own container gives you precise control over watering schedules. Rosemary prefers bone-dry soil between drinks, while parsley likes consistent moisture. Grouping them in a shared planter forces a compromise that often kills one species. Use individual four-inch or six-inch pots placed inside a waterproof catch tray to manage runoff.
Countertop Hydroponic Systems
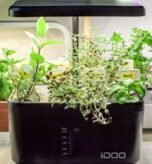
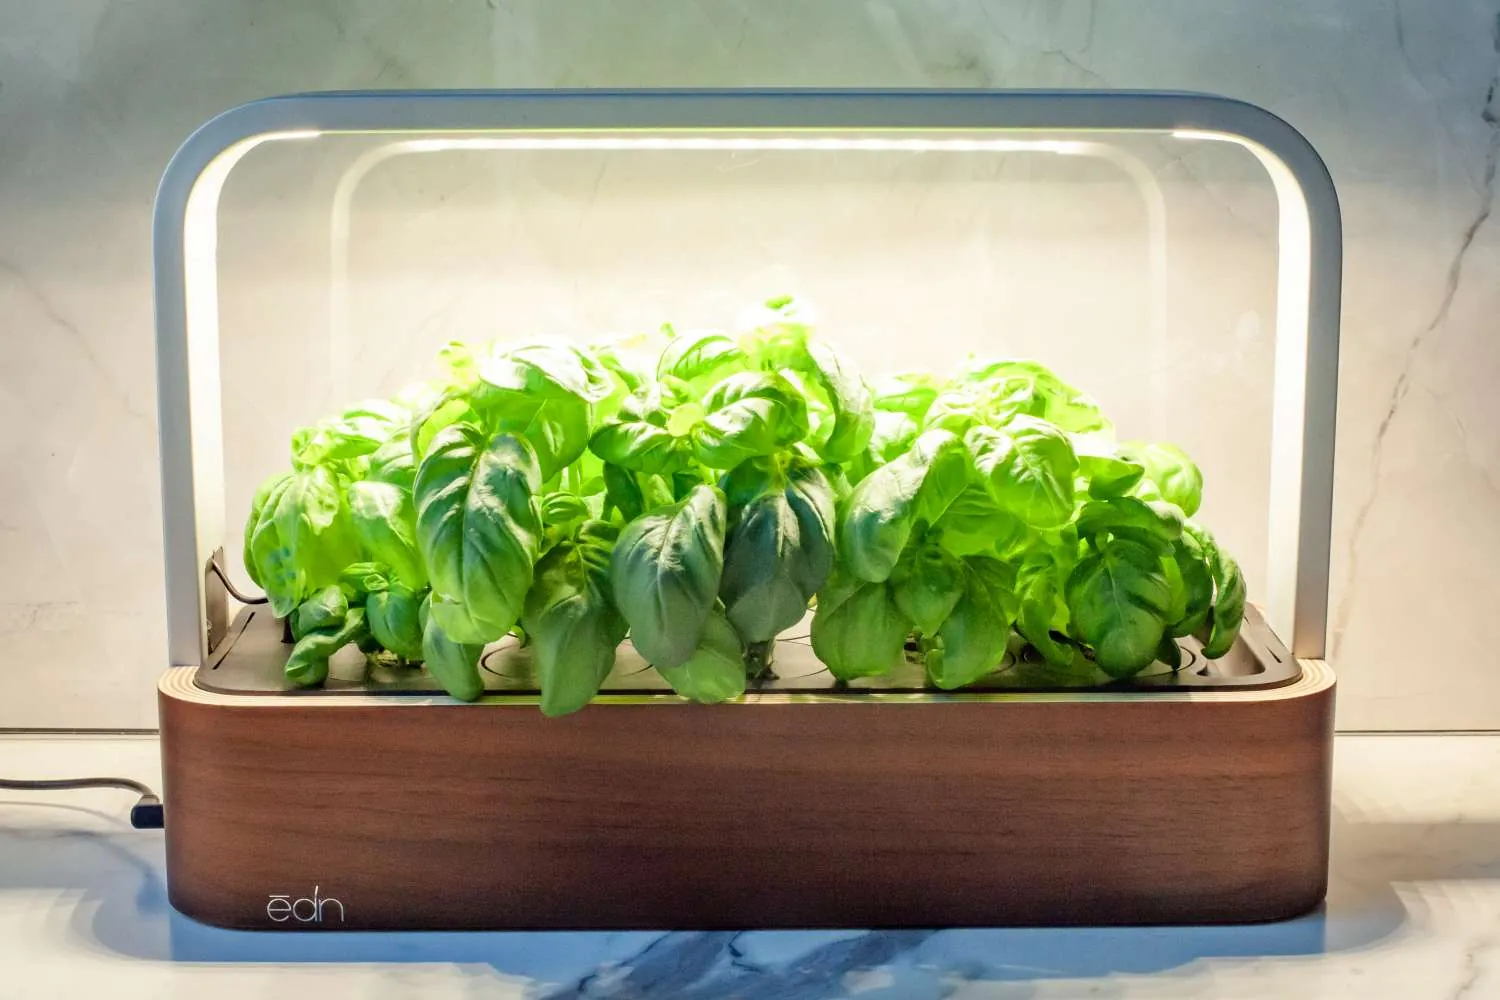
Devices like the AeroGarden Harvest or Click & Grow Smart Garden automate lighting and watering. These units use pre-seeded pods and built-in LED arrays to eliminate guesswork. While they cost significantly more upfront than traditional pots, they deliver rapid growth rates because the roots sit directly in nutrient-rich water rather than soil.
| Feature | Individual Soil Pots | Shared Planter Box | Countertop Hydroponic |
|---|---|---|---|
| Initial Cost | $10 – $25 | $20 – $40 | $80 – $150 |
| Watering Control | High (per plant) | Low (uniform) | Automated |
| Space Required | Flexible | Fixed footprint | Fixed footprint |
| Maintenance Level | Moderate | Moderate | Low |
| Best For | Mixed herb varieties | Single herb types | Beginners, low light |
What Herbs Grow Best Indoors?
Not every herb adapts well to indoor conditions. Plants native to the Mediterranean generally struggle without intense light, while leafy, fast-growing herbs adapt beautifully to lower light levels and warmer indoor temperatures. Focus your efforts on varieties known for their resilience in confined spaces.
Top Choices for Beginners
Basil is the undisputed king of indoor herbs, provided it receives adequate warmth and light. Sweet basil, Genovese basil, and Thai basil all perform well on a bright sill. Mint is virtually indestructible indoors; however, its aggressive root system means it must always be planted alone. Chives tolerate lower light levels better than almost any other culinary herb and regrow rapidly after snipping. Parsley, both flat-leaf and curly varieties, establishes slowly but produces continuously once mature.
Advanced Indoor Varieties
Once you master the basics, try growing rosemary or thyme. These woody herbs demand excellent drainage and intense light. They’re prone to root rot if overwatered and will drop leaves if the air circulation is poor. Cilantro grows quickly but bolts (goes to seed) rapidly in warm rooms, meaning you must succession-plant new seeds every three weeks to maintain a steady supply.
Pro Tip: Buy nursery starter plants instead of seeds for rosemary and thyme. Growing these woody herbs from seed takes months and has a notoriously low germination rate indoors. Transplants give you an immediate head start and guarantee you know exactly what variety you’re growing.
Which Containers Prevent Root Rot?
The vessel you choose dictates the health of your root system. Because indoor environments lack wind and intense sun to evaporate excess moisture, drainage holes are non-negotiable. Without them, water pools at the bottom of the pot, suffocating roots and inviting fungal pathogens that destroy the plant from the bottom up.
Material Matters
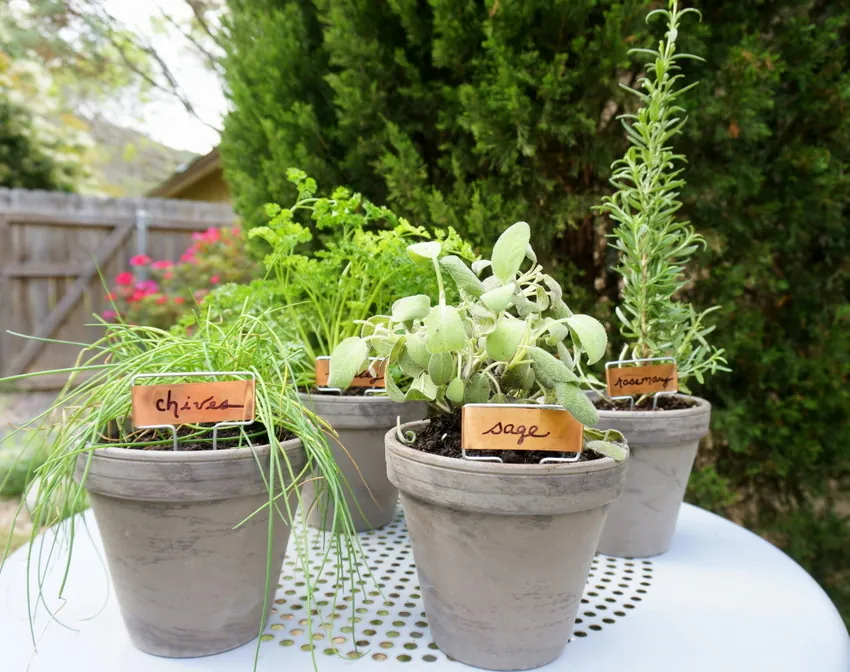
Terracotta and unglazed clay pots are porous, allowing air and moisture to pass through the walls. This breathability helps the soil dry evenly and prevents the soggy conditions that kill indoor herbs. Plastic pots retain moisture much longer, which benefits thirsty plants like mint but threatens drought-loving herbs like oregano. Glazed ceramic pots fall somewhere in between but must still feature a hole in the base.
Sizing Your Pots Correctly
A common mistake is placing a small starter plant into a massive pot. The excess soil holds water that the tiny root system can’t absorb, leading to rot. Start herbs in four-inch diameter pots. When roots begin circling the bottom or emerging from the drainage hole, transplant them into a six-inch pot. Avoid using deep containers for shallow-rooted herbs like chives or cilantro.
Never use glass mason jars without modification. If you insist on the aesthetic of clear glass, keep the plant in a plastic nursery pot with holes and set that inside the jar, removing it completely during watering so the jar can drain.
How Much Light Do Herbs Need?
Light is the primary limiting factor for any indoor garden. Herbs convert light into energy through photosynthesis, and insufficient illumination results in weak, spindly stems, pale leaves, and eventual death. Understanding the difference between direct sun, indirect light, and artificial supplementation is critical for success.
Evaluating Your Windows
A south-facing window receives the most intense, prolonged sunlight throughout the day in the Northern Hemisphere. East and west-facing windows provide moderate light, usually sufficient for mint, parsley, and chives. North-facing windows rarely provide enough energy for culinary herbs without supplemental lighting. Place pots directly on the sill or within twelve inches of the glass to maximize photon capture.
Supplementing With Grow Lights
If your home lacks adequate natural light, full-spectrum LED grow lights are highly effective. Look for fixtures emitting light in the 4000K to 6500K color temperature range, which mimics daylight and promotes vegetative leaf growth. Position the light source six to twelve inches above the plant canopy.
Run the lights for twelve to sixteen hours daily using a simple outlet timer to ensure consistency. According to Utah State University extension guidelines, providing adequate light intensity and duration is the most significant challenge when moving outdoor plants inside, and supplemental lighting bridges that gap effectively.
| Herb Type | Minimum Daily Sunlight | Ideal Window Direction | Artificial Light Duration |
|---|---|---|---|
| Basil, Oregano | 6 – 8 hours direct | South | 14 – 16 hours |
| Thyme, Rosemary | 6 – 8 hours direct | South | 14 – 16 hours |
| Mint, Parsley | 4 – 6 hours indirect | East or West | 12 – 14 hours |
| Chives, Cilantro | 4 – 6 hours indirect | East or West | 12 – 14 hours |
Soil Mixes for Healthy Roots
Don’t dig up dirt from your yard for indoor pots. Outdoor garden soil compacts tightly in containers, blocking oxygen flow and harboring pests like fungus gnats. Instead, use a high-quality, sterile potting mix formulated specifically for container gardening. The texture should be loose, fluffy, and capable of holding moisture while draining rapidly.
Building the Perfect Blend
A standard commercial potting soil works as a base, but amending it improves performance for herbs. Mix two parts potting soil with one part perlite and one part coarse horticultural sand. Perlite creates permanent air pockets that prevent compaction, while sand adds weight to keep top-heavy plants from tipping over and accelerates drainage.
Organic Matter and Nutrients
Most commercial mixes contain peat moss or coconut coir to retain water. Coconut coir is a sustainable alternative that wets more easily than peat. Because herbs grown for their leaves don’t need heavy feeding to produce flowers or fruit, avoid soils heavily amended with synthetic fertilizers. A light incorporation of worm castings provides gentle, slow-release nitrogen that fuels lush green foliage without burning delicate roots.
Warning: Never reuse old potting soil from a plant that died of disease or pest infestation. Pathogens and insect eggs survive in dormant soil and will immediately attack your new herbs. Always start with a fresh, sterile medium when planting new additions to your collection.
Watering Without Killing Your Plants
Overwatering is responsible for more indoor herb deaths than any other factor. Because indoor air lacks the drying power of outdoor wind and sun, soil stays wet much longer. Developing a disciplined approach to hydration ensures your root zone remains healthy and oxygenated.
The Finger Test Method
Ignore rigid schedules that dictate watering every few days. Instead, check the soil manually. Insert your index finger into the soil up to the first knuckle, approximately one inch deep. If the soil feels dry at that depth, it’s time to water. If it feels cool and damp, wait another day and check again. Woody herbs like rosemary prefer the soil to dry out almost completely, while basil and parsley prefer it to stay slightly moist but never soggy.
Proper Watering Technique
When you do water, do it thoroughly. Pour room-temperature water slowly over the soil surface until it flows freely out of the drainage holes at the bottom. This flushes accumulated mineral salts through the soil profile.
Never let the pot sit in a saucer full of standing water; empty the saucer ten minutes after watering. Bottom watering—setting the pot in a bowl of water for twenty minutes so the soil absorbs moisture upward—is excellent for preventing fungus gnats, which lay eggs in wet surface soil.
Feeding Your Indoor Herbs
Herbs harvested frequently lose nutrients that must be replaced. However, culinary herbs grown for their leaves require far less fertilizer than fruiting plants like tomatoes. Over-fertilizing causes rapid, weak growth and dilutes the essential oils that give herbs their flavor, resulting in bland-tasting leaves.
Choosing the Right Fertilizer
Use a balanced, water-soluble organic fertilizer diluted to half the strength recommended on the packaging. Fish emulsion, kelp extract, or liquid worm tea are excellent choices that provide micronutrients alongside the primary nitrogen, phosphorus, and potassium. Nitrogen drives leafy growth, making it the most important macronutrient for your setup.
Establishing a Feeding Schedule
During the active growing season in spring and summer, feed your herbs once every four to six weeks. In late fall and winter, when natural light decreases and plant metabolism slows, cease fertilizing entirely. Pushing growth during dark winter months produces leggy, pale stems that lack flavor and structural integrity. Always apply fertilizer to damp soil, never dry, to prevent chemical burns to the root hairs.
How Do You Harvest Correctly?
Harvesting isn’t merely about collecting ingredients for dinner; it’s a vital maintenance practice that dictates the shape and longevity of your plants. Improper cutting damages the plant, while strategic pruning stimulates dense, bushy growth. Understanding apical dominance is the key to abundant yields.
Pinching Versus Cutting
For soft-stemmed herbs like basil, mint, and cilantro, use your thumb and forefinger to pinch off the top sets of leaves. Always cut or pinch just above a node—the point on the stem where two smaller leaves emerge. Removing the top bud breaks apical dominance, forcing the plant to send energy into the lateral buds below the cut, creating two new branches instead of one tall, skinny stem.
Rules of Thumb for Yield
Never harvest more than one-third of the plant’s total foliage at any given time. Stripping too many leaves removes the plant’s ability to photosynthesize and recover. Harvest in the morning after the dew dries but before the heat of the day, as this is when essential oil concentrations peak. Remove any flower buds immediately upon spotting them; once an herb flowers, the plant shifts energy toward seed production, and the leaves turn bitter.
| Herb | Harvesting Method | Where to Cut | Regrowth Time |
|---|---|---|---|
| Basil | Pinch tops | Above leaf node | 1 – 2 weeks |
| Chives | Snip blades | 1 inch above soil | 2 – 3 weeks |
| Mint | Pinch or shear | Above leaf node | 1 – 2 weeks |
| Parsley | Cut outer stems | At soil level base | 3 – 4 weeks |
| Rosemary | Snip sprigs | Soft green wood only | 4 – 6 weeks |
Troubleshooting Common Growing Problems
Even with careful attention, indoor environments present unique challenges. Pests multiply rapidly without natural predators, and environmental stress manifests quickly in leaf color and texture. Identifying issues early prevents total crop loss.
Yellowing Leaves
Yellow leaves indicate stress, but the pattern reveals the cause. If older, lower leaves turn yellow and drop while new growth looks fine, the plant likely needs nitrogen or is naturally shedding. If the entire plant turns pale yellow, it’s receiving too much water or insufficient light. Check the soil moisture immediately and adjust your watering habits or move the plant closer to a window.
Dealing With Pests
Fungus gnats are tiny black flies hovering around wet soil. They thrive in overly moist potting mixes. Let the top two inches of soil dry out completely between waterings to break their life cycle.
Spider mites appear as fine webbing on the undersides of leaves, usually caused by excessively dry indoor air. Wipe leaves with a damp cloth or spray with insecticidal soap. Aphids cluster on tender new growth and can be blasted off with a gentle stream of water in the sink.
Leggy, Stretched Growth
If your herbs look tall, thin, and sparse, they’re etiolating—stretching desperately toward a light source. No amount of fertilizer or water fixes this. Move the plant to a brighter location or introduce a grow light immediately. You can prune the leggy stems back harshly to force compact regrowth, provided the plant receives adequate light going forward.
Propagating New Plants for Free
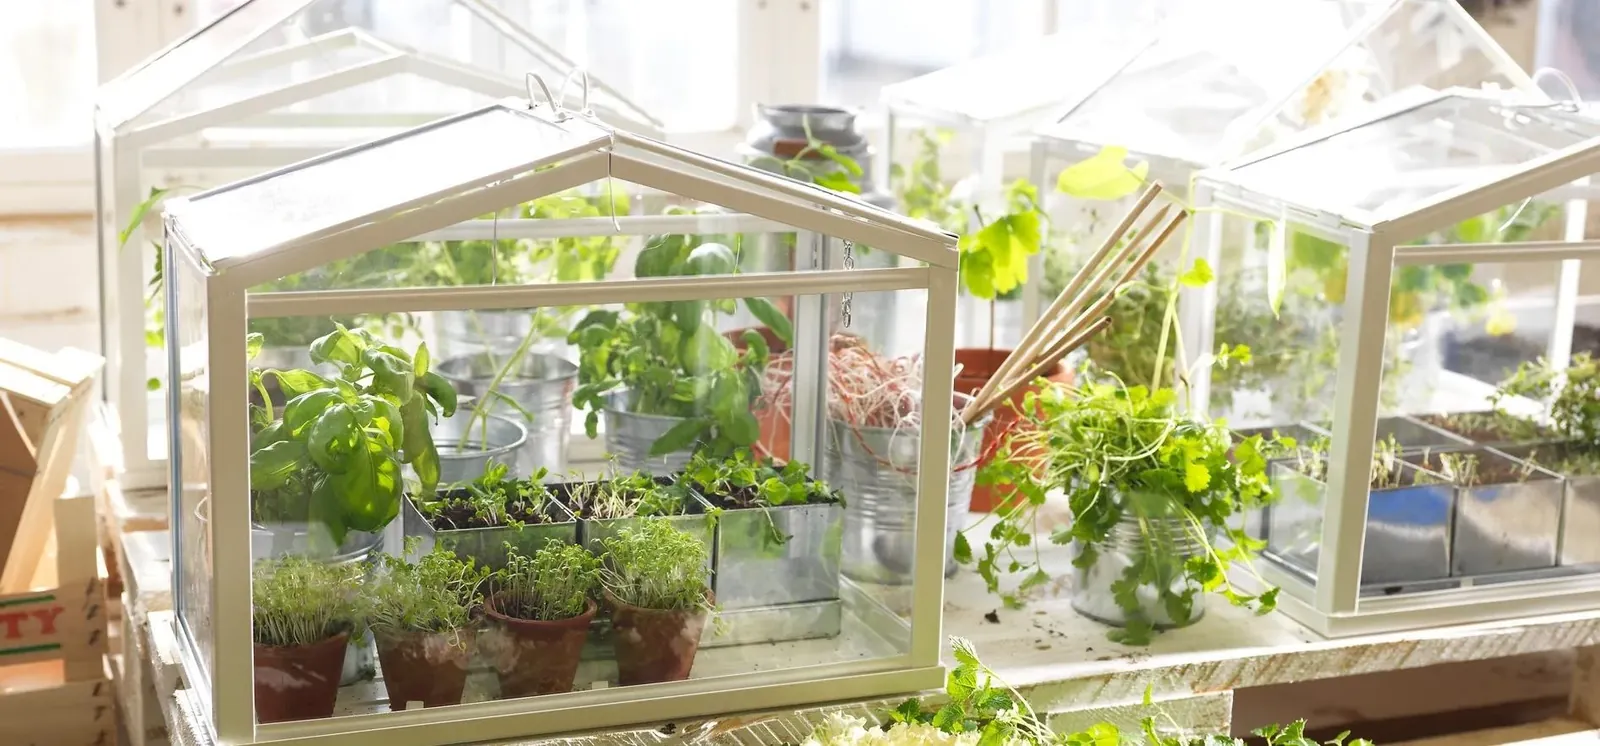
You don’t need to buy new seeds or transplants constantly. Many culinary herbs propagate easily from cuttings, allowing you to multiply your favorite varieties indefinitely. Stem cuttings root quickly in water or soil, providing a continuous supply of fresh plants.
Water Propagation Basics
Take a four-inch cutting from a healthy stem, ensuring it has several nodes. Strip the leaves from the bottom two inches of the stem. Place the bare nodes into a small glass of room-temperature water. Keep the glass in bright, indirect light and change the water every three days to prevent bacterial buildup. Basil, mint, and oregano typically develop visible white roots within seven to fourteen days. Once roots are two inches long, transplant them gently into potting soil.
Soil Propagation for Woody Herbs
Rosemary, thyme, and sage root poorly in water and prefer direct soil propagation. Dip the stripped end of the cutting into rooting hormone powder, then insert it into a small pot filled with a damp mixture of equal parts perlite and peat moss.
Cover the pot loosely with a clear plastic bag to create a humid microclimate. Keep the medium barely moist and place it in bright, indirect light until you feel resistance when gently tugging the stem, indicating root establishment.
Frequently Asked Questions
Can herbs survive without direct sunlight?
Most culinary herbs require direct sunlight to produce flavorful oils. However, mint, parsley, and chives tolerate bright, indirect light reasonably well. If your space lacks windows entirely, you must use full-spectrum LED grow lights running twelve to sixteen hours daily to sustain healthy vegetative growth.
How often should I water my indoor herbs?
Avoid fixed schedules. Check the soil daily by inserting your finger one inch deep. Water only when that top inch feels dry to the touch. Terracotta pots dry faster than plastic ones, and plants consume more water during summer months than in winter dormancy.
Why are my basil leaves turning black?
Black leaves on basil usually indicate cold damage or severe overwatering. Basil is highly sensitive to temperatures below fifty degrees Fahrenheit. Ensure the plant isn’t touching a cold windowpane in winter. If the soil is constantly soggy, root rot may be setting in, requiring repotting into dry, well-draining soil.
Do I need special fertilizer for herbs?
No specialized product is required. A standard organic liquid fertilizer, such as fish emulsion or seaweed extract, works perfectly. Dilute it to half the manufacturer’s recommended strength and apply it only once a month during the spring and summer growing seasons to prevent excessive, flavorless growth.
Can I grow herbs in mason jars?
Growing directly in sealed mason jars without drainage holes is highly discouraged, as trapped water causes fatal root rot. If you desire the aesthetic, plant your herbs in small plastic nursery pots with drainage holes and slip those pots inside the decorative jars, removing them entirely whenever you water.
How long do potted supermarket herbs last?
Supermarket herbs sold in plastic clamshells are often overcrowded and forced to grow rapidly under artificial conditions. To extend their lifespan, divide the root ball into two or three separate sections immediately after purchase and repot them individually into larger containers with fresh potting mix.
Conclusion
Start by selecting three herbs you actually cook with weekly, purchase small terracotta pots with drainage holes, and place them in your brightest south-facing window today. Consistent observation and restraint with the watering can will yield fresh, flavorful harvests within weeks.
{“@context”:”https://schema.org”,”@type”:”FAQPage”,”mainEntity”:[{“@type”:”Question”,”name”:”Can herbs survive without direct sunlight?”,”acceptedAnswer”:{“@type”:”Answer”,”text”:”Most culinary herbs require direct sunlight to produce flavorful oils. However, mint, parsley, and chives tolerate bright, indirect light reasonably well. If your space lacks windows entirely, you must use full-spectrum LED grow lights running twelve to sixteen hours daily to sustain healthy vegetative growth.”}},{“@type”:”Question”,”name”:”How often should I water my indoor herbs?”,”acceptedAnswer”:{“@type”:”Answer”,”text”:”Avoid fixed schedules. Check the soil daily by inserting your finger one inch deep. Water only when that top inch feels dry to the touch. Terracotta pots dry faster than plastic ones, and plants consume more water during summer months than in winter dormancy.”}},{“@type”:”Question”,”name”:”Why are my basil leaves turning black?”,”acceptedAnswer”:{“@type”:”Answer”,”text”:”Black leaves on basil usually indicate cold damage or severe overwatering. Basil is highly sensitive to temperatures below fifty degrees Fahrenheit. Ensure the plant isn’t touching a cold windowpane in winter. If the soil is constantly soggy, root rot may be setting in, requiring repotting into dry, well-draining soil.”}},{“@type”:”Question”,”name”:”Do I need special fertilizer for herbs?”,”acceptedAnswer”:{“@type”:”Answer”,”text”:”No specialized product is required. A standard organic liquid fertilizer, such as fish emulsion or seaweed extract, works perfectly. Dilute it to half the manufacturer’s recommended strength and apply it only once a month during the spring and summer growing seasons to prevent excessive, flavorless growth.”}},{“@type”:”Question”,”name”:”Can I grow herbs in mason jars?”,”acceptedAnswer”:{“@type”:”Answer”,”text”:”Growing directly in sealed mason jars without drainage holes is highly discouraged, as trapped water causes fatal root rot. If you desire the aesthetic, plant your herbs in small plastic nursery pots with drainage holes and slip those pots inside the decorative jars, removing them entirely whenever you water.”}},{“@type”:”Question”,”name”:”How long do potted supermarket herbs last?”,”acceptedAnswer”:{“@type”:”Answer”,”text”:”Supermarket herbs sold in plastic clamshells are often overcrowded and forced to grow rapidly under artificial conditions. To extend their lifespan, divide the root ball into two or three separate sections immediately after purchase and repot them individually into larger containers with fresh potting mix.”}}]}