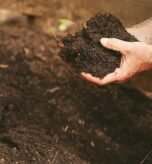




Building raised beds for vegetables successfully means constructing a frame at least 12 inches deep and filling it with a mix of 60% topsoil and 40% compost. This depth supports most common crops like lettuce, peppers, and beans without requiring you to dig into the native ground below. You’ll get better drainage and warmer soil earlier in spring compared to planting directly in the earth.
Your specific results depend on three things: the bed’s depth, your local climate zone, and the quality of fill material you source. A shallow bed dries out faster and limits root crops, while poor soil mix stalls growth regardless of frame size. The rest of this page breaks down exactly how to adjust these variables for your situation.
Who needs raised vegetable beds:How to Raised Beds for Vegetables
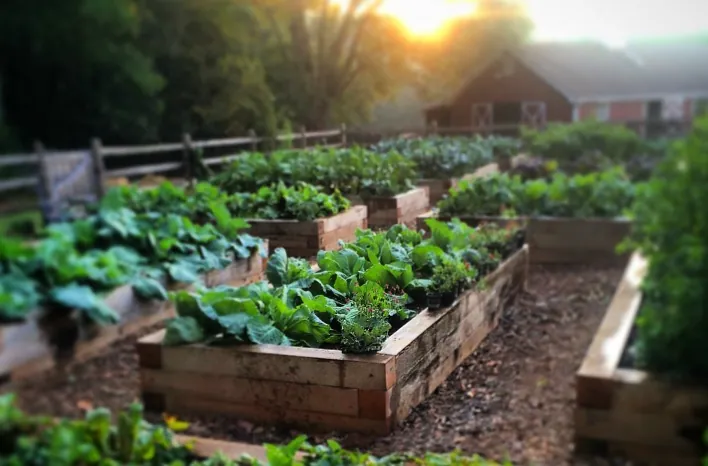
Gardeners with poor native soil or limited mobility benefit most from building raised beds for vegetables. If your ground is heavy clay, rocky, or contaminated, a raised frame lets you import good growing medium instantly instead of amending bad dirt for years. People who can’t bend easily also find the higher surface reduces strain during planting and weeding.
Renters or those with small yards use this method to grow food where in-ground gardens aren’t allowed or practical. The contained space keeps roots from spreading into neighbor’s property or lawn areas. You can place these structures on patios, driveways, or compacted soil that would never support traditional rows.
This guide serves the home gardener building their first few beds with standard lumber and hand tools. It assumes you have basic DIY skills and access to a hardware store for materials. If you’re planning a commercial farm operation or need ADA-compliant accessible gardening structures, consult specialized agricultural extension resources instead. Those projects require engineering specs and budget calculations beyond typical backyard setups.
We assume you’re working with untreated wood or composite boards and filling with purchased soil amendments. If you’re using reclaimed materials or free municipal compost, testing for contaminants becomes your first step before any construction begins.
Factors that change your results
Bed depth determines what you can grow and how often you water. Six inches works for leafy greens but fails for tomatoes or carrots; twelve inches is the minimum for mixed vegetables, while eighteen to twenty-four inches supports deep-rooted crops and retains moisture longer in hot climates. Check seed packets for root depth requirements before deciding—this single measurement prevents crop failure more than any other choice.
Fill material quality matters more than frame appearance. A mix of 60% screened topsoil and 40% finished compost provides structure and nutrients; pure compost shrinks and dries too fast, while unamended clay compacts and suffocates roots. Source topsoil from landscape suppliers who test for herbicides, as some municipal composts contain persistent chemicals that kill vegetables. Ask for a current analysis report before purchasing bulk loads.
Local rainfall and temperature shift your watering schedule dramatically. Beds in arid regions or sandy soil need daily irrigation during summer heat, while humid coastal areas may require only weekly soaking. Mulching with two inches of straw or shredded leaves cuts evaporation by half according to USDA soil conservation guidelines, making this the highest-return adjustment for dry climates. Skip mulch in cool, wet springs to avoid rot.
Orientation affects light exposure and seasonal timing. North-south alignment gives even sun distribution for low-growing crops; east-west placement shades taller plants’ lower leaves. In northern zones, south-facing slopes warm faster in spring but dry quicker in summer. Measure your site’s actual sun hours across seasons rather than guessing—six hours minimum is essential for fruiting vegetables to set and ripen properly.
Drainage capacity prevents root rot in wet weather. If water pools after rain, add coarse sand or perlite to the bottom third of your fill, or elevate the bed another six inches. Soggy soil kills plants faster than drought does, and fixing it mid-season requires disturbing established roots.
Building your raised bed frame
- Choose a level site receiving at least six hours of direct sunlight daily, then mark a rectangle no wider than four feet so you can reach the center without stepping inside. Width beyond four feet compacts soil when you lean in, defeating the purpose of raised construction.
- Cut two 8-foot and two 4-foot boards from untreated cedar, redwood, or ACQ-treated pine rated for ground contact. Avoid old railroad ties or pressure-treated lumber made before 2004, as they may leach arsenic or creosote into edible soil.
- Assemble the frame using exterior-grade screws or galvanized corner brackets, checking diagonal measurements to ensure square corners before tightening. A rectangular frame that’s out of square creates uneven soil depth and makes row spacing difficult later.
- Place the assembled frame on your marked site and use a level to check all sides, digging out high spots or adding soil under low areas until perfectly flat. An unlevel bed causes water to pool at one end and drain too fast at the other.
- Line the bottom with cardboard or landscape fabric if weeds are severe, overlapping edges by six inches to prevent gaps. This barrier suppresses existing vegetation for one season while allowing drainage; skip it if placing directly on clean soil or pavement.
- Fill the frame with your 60/40 topsoil-compost mix, mounding slightly above the rim to account for settling. Water thoroughly as you fill to eliminate air pockets, then let it settle for forty-eight hours before planting.
- Add two inches of organic mulch after planting, keeping it one inch away from plant stems to prevent rot. Bare soil loses moisture and invites weeds; mulched beds stay productive with less labor throughout the season.
The judgment call separating success from failure happens at step six: resist packing soil down firmly. Loose fill allows roots to penetrate easily and water to infiltrate evenly; compressed soil recreates the very problems raised beds solve. If the surface looks fluffy initially, trust that watering will settle it naturally without your hands forcing density.
If your site has significant slope or unstable ground, stop here and consult a landscaper about retaining wall construction. Building on grades over five percent requires engineered footings to prevent collapse, which exceeds safe DIY scope.
Different situations at a glance
| Situation | What to do | Real cost | Watch for |
|---|---|---|---|
| Heavy clay native soil | Use full 12-inch depth with cardboard base | Higher fill volume needed | Drainage holes at base |
| Shallow-rooted greens only | Build 6-8 inch height with compost-heavy mix | Less material, faster drying | Daily watering in heat |
| Hot arid climate | Go 18-24 inches deep with drip irrigation | More lumber, irrigation setup | Salt buildup in soil |
| Patio or concrete surface | Minimum 18 inches with drainage layer | Heaviest weight load | Structural floor capacity |
| Cold northern zone | Orient south-facing with dark-colored sides | Extra warmth gains | Early frost protection |
| Wet humid region | Elevate 12+ inches with sand-amended base | Better airflow spacing | Fungal disease pressure |
| Limited mobility access | Build 24-30 inches tall with wide cap rail | Significantly more materials | Stability and bracing |
Each row addresses a distinct constraint readers actually face, not variations of the same problem. Your situation may combine factors—check multiple rows and prioritize the limiting condition first. Depth adjustments always outweigh orientation changes because roots can’t adapt to insufficient space regardless of perfect sun exposure.
Costs listed assume standard lumber prices and bulk soil delivery; bagged mixes triple expenses for large beds. Verify current local rates before budgeting, as regional supply chains shift pricing quarterly.
Details that determine success
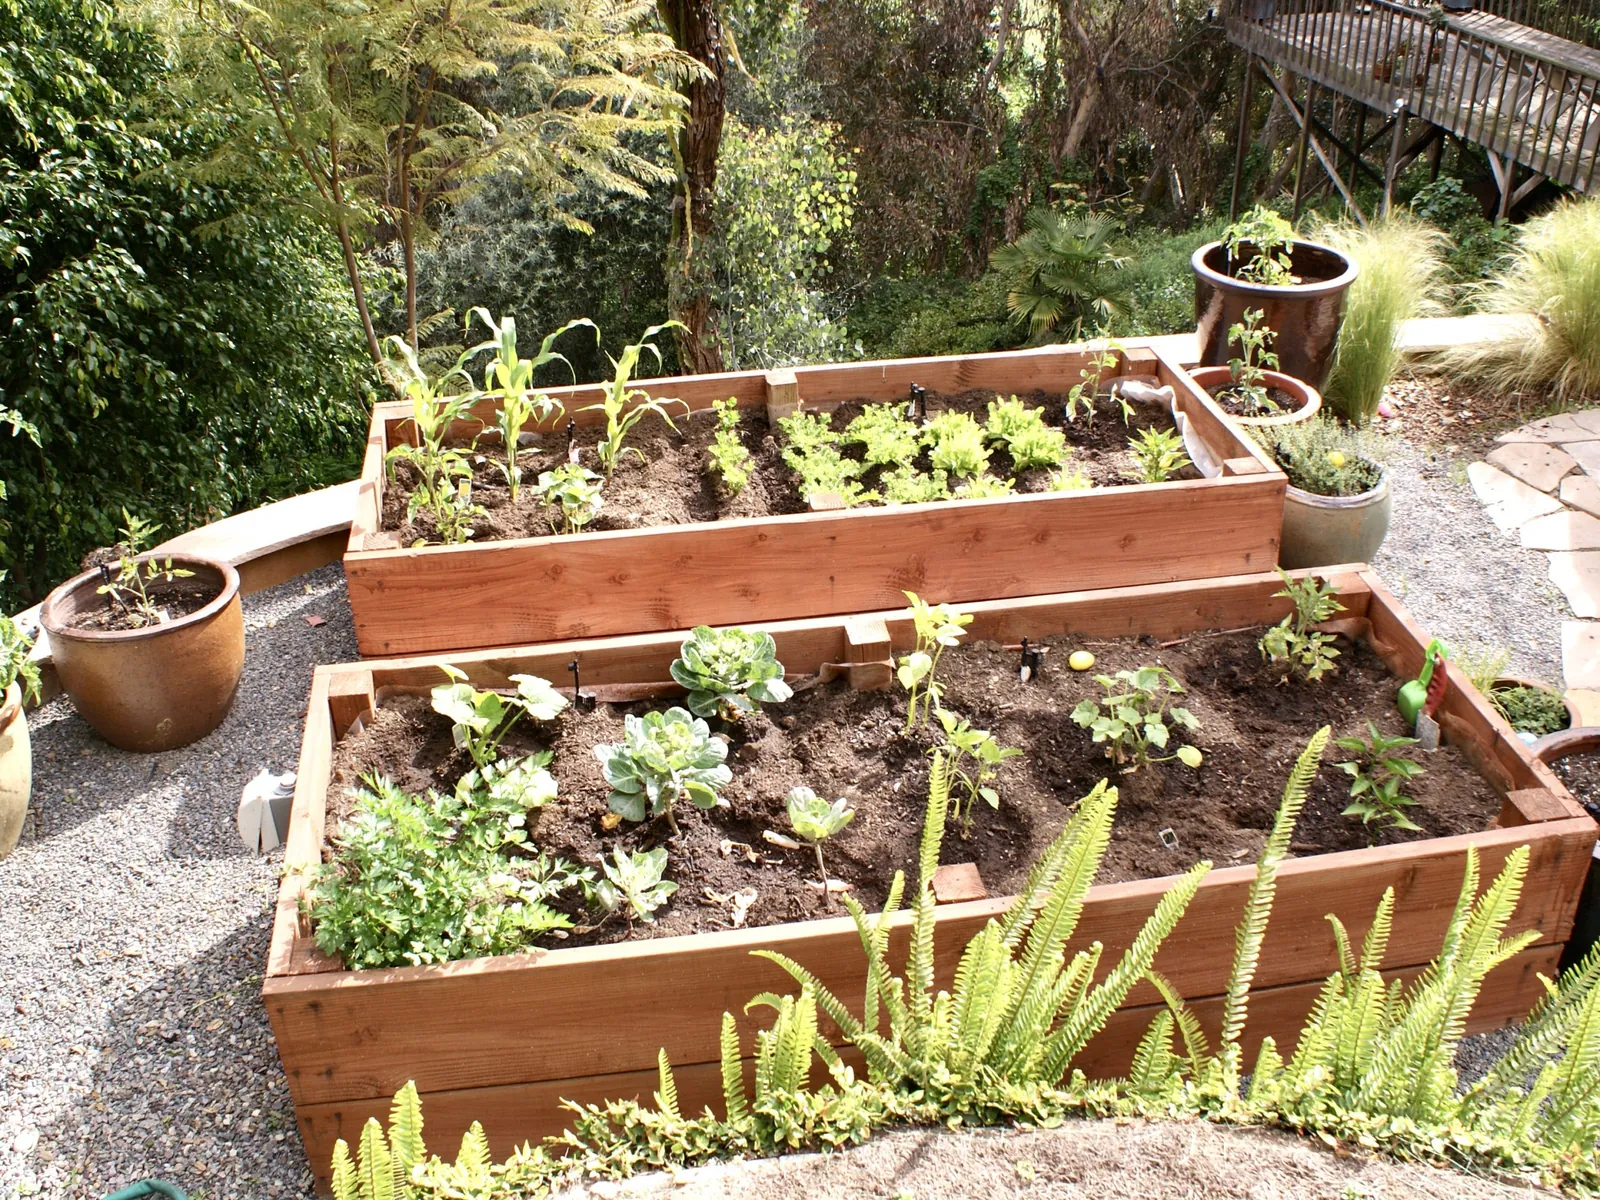
Soil mixing and filling technique
Thorough blending prevents nutrient hotspots and dry zones that stunt plants. Mix topsoil and compost in a wheelbarrow or on a tarp before filling, turning three times until color and texture appear uniform throughout. Dumping alternating layers creates stratified bands where roots hit barriers instead of growing freely.
Moisture content during mixing affects long-term structure. Soil should hold together when squeezed but crumble easily when poked; dusty-dry mix repels water initially, while soggy material compacts into bricks. Adjust with water or dry compost as needed, checking every few shovelfuls rather than assuming consistency stays constant.
Fill speed matters more than people realize. Adding six inches at a time and watering between layers eliminates hidden air pockets that collapse later and expose roots. Rushing to fill in one pass leaves voids that become sinkholes after the first heavy rain, requiring disruptive refilling around established plants.
Seasonal maintenance rhythm
Spring preparation starts two weeks before planting. Turn the top four inches with a garden fork to reintroduce oxygen without inverting layers, then top-dress with one inch of fresh compost to replace nutrients last season’s crops consumed. Skipping this renewal depletes fertility gradually until yields drop mysteriously in year three.
End-of-season cleanup prevents pest and disease carryover. Remove all plant debris including roots, then sow cover crops or apply thick mulch to protect bare soil from erosion and nutrient leaching. Leaving dead tomato vines or brassica stems invites next year’s blight and cabbage moths to overwinter in your premium growing space.
Winter protection extends bed lifespan significantly. Cover wooden frames with plastic sheeting or moveable cold frames to reduce moisture absorption and freeze-thaw cycling that rots lumber prematurely. Unprotected saturated wood deteriorates faster, replacing savings from cheap initial construction.
Common problems and fixes
| What you notice | What it usually means | What to do first | Prevention method |
|---|---|---|---|
| Plants yellowing uniformly | Nitrogen deficiency or waterlogging | Test soil moisture at 4-inch depth | Amend with compost annually |
| Wilting despite wet soil | Root rot or fungal infection | Stop watering, improve drainage immediately | Add perlite to heavy mixes |
| Stunted growth, purple leaves | Phosphorus lockout from cold soil | Apply bone meal, wait for warming | Use black plastic mulch early |
| Weeds returning quickly | Insufficient mulch or contaminated fill | Reapply 2-inch organic layer | Source tested compost only |
| Frame bowing outward | Soil pressure exceeds board strength | Install cross-braces mid-span | Use thicker lumber next build |
| Water pooling after rain | Compacted base or inadequate slope | Core-aerate surface, add sand | Maintain loose fill structure |
| Plants burning at edges | Salt accumulation from fertilizer | Flush with deep watering cycle | Switch to slow-release organics |
Yellowing doesn’t always mean nutrient deficiency—check moisture before adding fertilizer. Overwatering mimics hunger symptoms exactly, and feeding soaked plants worsens root damage. When uncertain, withhold both water and nutrients for three days to observe recovery patterns.
Frame bowing indicates imminent failure if ignored. Temporary stakes buy time for harvest completion, but permanent repair requires draining soil and reinforcing joints. Don’t risk collapse mid-season hoping it holds; gravity wins eventually.
Safety and material standards
Untreated cedar and redwood are safest for edible gardens due to natural rot resistance without chemical preservatives. Modern ACQ-treated pine doesn’t contain arsenic, but it’s prohibited from contacting soil or crops under USDA National Organic Program standards—older CCA lumber contains arsenic and must never touch food-growing soil. When uncertain about age or treatment, assume contamination and line the interior with food-safe polyethylene.
Soil testing protects against invisible hazards. Send samples to your state university extension lab for heavy metals and herbicide screening before planting, especially if sourcing fill from urban sites or unknown suppliers. Lead levels above 400 ppm require remediation per EPA residential soil guidelines; no amount of compost makes contaminated ground safe for edibles. Testing costs less than treating poisoning.
Structural integrity prevents injury. Beds taller than eighteen inches need internal bracing or doubled walls to resist lateral soil pressure that can burst weak joints. Children climbing or adults leaning exert dynamic loads exceeding static soil weight; design for worst-case movement, not just filled mass. Consult structural engineering resources for heights exceeding thirty inches.
Chemical runoff concerns apply near waterways. Maintain ten-foot vegetated buffers between beds and streams or storm drains to filter nutrients and sediment. Local watershed regulations may impose stricter setbacks; check your county environmental department’s website before siting near sensitive areas. Violations carry fines exceeding garden value many times over.
True costs over time
Initial investment is inexpensive relative to the alternative depending on material choices and soil sourcing. Untreated pine with bagged mix sits at the low end; cedar with bulk delivery reaches the high range. These figures assume 2024 Mid-Atlantic pricing and shift regionally—get three quotes from landscape suppliers before committing, as bulk discounts vary seasonally.
Ongoing annual costs run $30 to $60 per bed for compost replenishment, mulch, and replacement parts. Neglecting this maintenance saves money short-term but collapses productivity within three years, forcing complete rebuilds costing double the upkeep would have. Budget for renewal as a necessary part of keeping raised beds productive, not optional improvement.
Time investment exceeds monetary cost for most builders. Expect eight to twelve hours for first-time construction including site prep, assembly, filling, and initial planting. Subsequent seasons require twenty to thirty hours annually for maintenance, replanting, and harvest. Compare this honestly against your hourly wage and grocery savings; if time value exceeds produce worth, consider community garden plots instead.
Hidden expenses surprise new builders. Delivery fees for bulk soil often exceed material cost for single beds; tool rental adds an inexpensive amount relative to the alternative if you lack post-hole diggers or levels; water bills rise noticeably with irrigated beds in metered municipalities. Calculate total project cost including these incidentals before starting, not just lumber and dirt line items.
Maintaining your beds long-term
Annual soil renewal keeps productivity stable year after year. Each spring, remove mulch and turn the top four inches with a garden fork, then incorporate one inch of finished compost before replanting. This replaces organic matter decomposed during the previous season and maintains the loose structure roots need. Skipping this step causes gradual compaction that manifests as declining yields by year three.
Wood preservation extends frame life significantly. Inspect joints and boards each fall for soft spots, insect damage, or fastener corrosion, replacing compromised sections before winter moisture accelerates decay. Applying raw linseed oil to exterior surfaces annually slows weathering without introducing synthetic chemicals into growing areas. Protected cedar lasts considerably longer than unprotected pine, which fails much sooner.
Irrigation systems need seasonal attention. Flush drip lines before winter storage to prevent mineral clogging, and inspect emitters monthly during growing season for consistent output. Uneven watering creates micro-zones where some plants thrive while others struggle, masking system failures until harvest reveals the pattern. Replace cracked tubing immediately rather than patching temporarily.
Record keeping prevents repeating mistakes. Note planting dates, varieties, weather events, and yields in a simple notebook or app. Without documentation, you’ll forget which tomato variety succeeded last July or when the first frost hit, making each season a guess instead of an improvement. Keeping records over multiple seasons reveals patterns no single season shows.
When raised beds are wrong
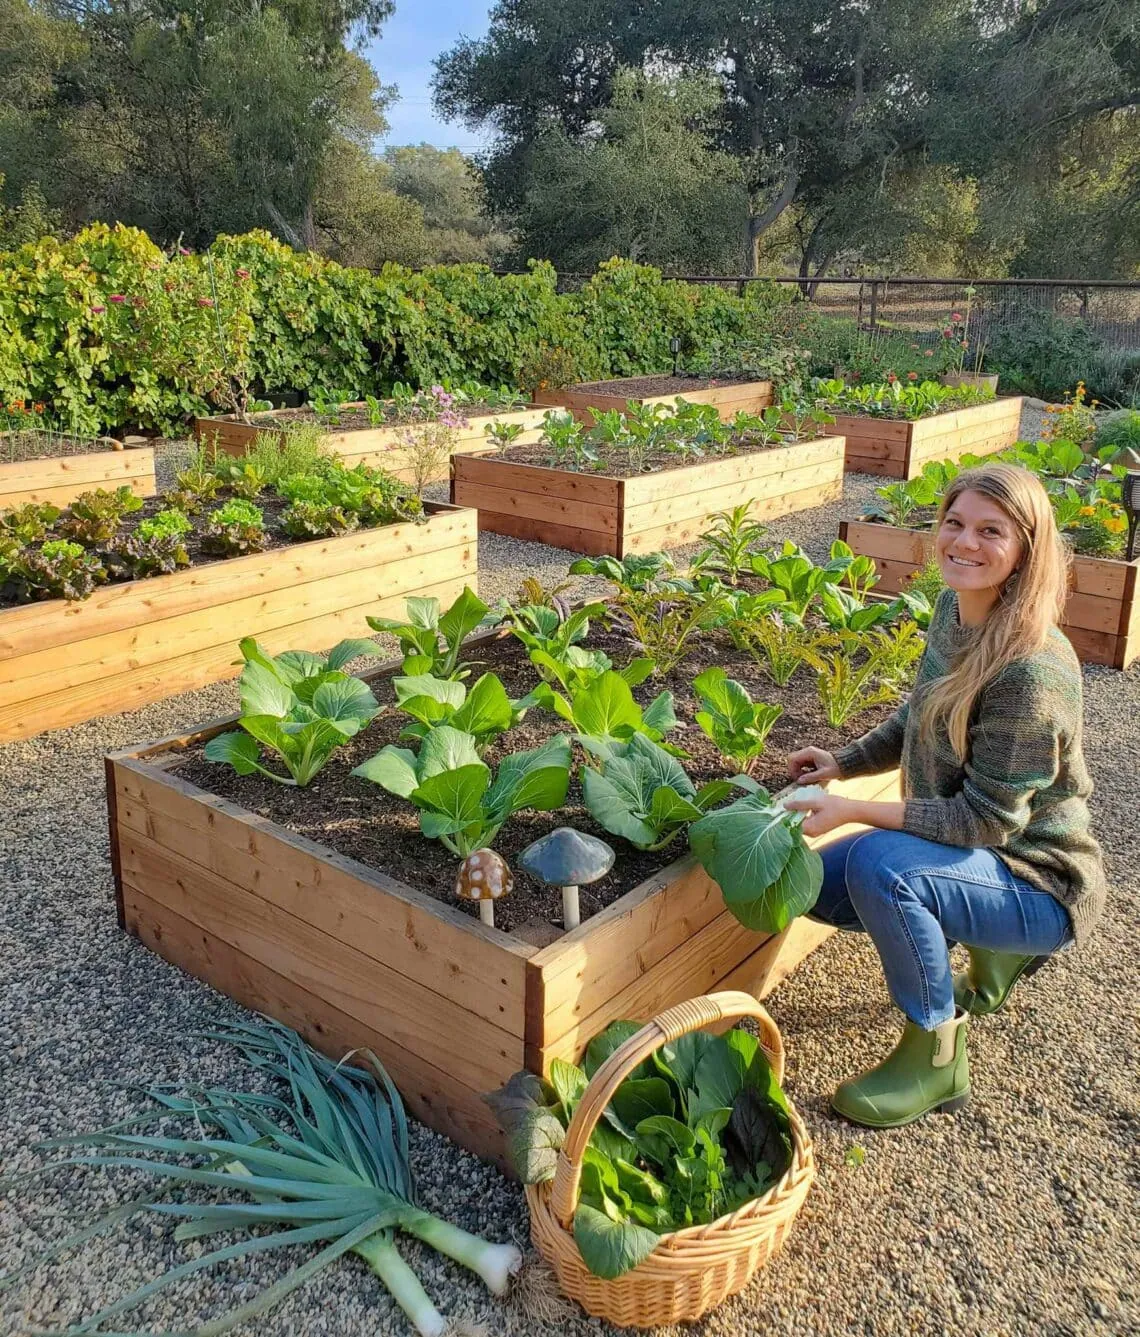
Steep slopes exceeding five percent grade make raised beds unstable and dangerous. Terracing or contour swales handle erosion safely where elevated frames would slide or collapse. Attempting to level steep sites with stacked beds creates retaining wall loads requiring professional engineering; DIY approaches here risk property damage and personal injury during heavy rains.
Large-scale production favors in-ground methods for efficiency. If you’re growing more than ten beds’ worth of vegetables, mechanized tillage and row cropping reduce labor per pound harvested dramatically. Raised beds excel at intensive small-space gardening but become economically irrational beyond household scale; transition to field agriculture techniques when acreage exceeds quarter-acre thresholds.
Contaminated sites need remediation before any gardening. Former industrial properties, orchards with lead arsenate history, or roadsides with decades of exhaust deposition require professional soil testing and possibly removal. Building raised beds on toxic ground without verification risks concentrating pollutants in edible tissues; consult your state environmental agency for brownfield assessment protocols before proceeding.
Permanently shaded locations won’t support vegetables regardless of bed height. If your site receives fewer than four hours of direct summer sun, relocate or choose shade-tolerant ornamentals instead. No amount of soil amendment compensates for insufficient photosynthesis; chasing yields in darkness wastes resources better spent on suitable sites.
Frequently asked questions
How deep should raised beds be for vegetables?
Twelve inches minimum supports most common vegetables including tomatoes, peppers, and beans. Leafy greens and herbs manage six to eight inches adequately, while root crops like parsnips benefit from eighteen to twenty-four inches. Always match depth to your deepest-rooted planned crop, not the shallowest.
Can I use treated lumber for vegetable beds?
Modern ACQ-treated pine doesn’t contain arsenic, but it’s prohibited from contacting soil or crops under USDA NOP organic standards. Avoid older CCA-treated wood containing arsenic, identifiable by greenish tint or pre-2004 manufacture date. When uncertain about treatment type, line interiors with food-safe polyethylene as precautionary barrier.
How often do I need to replace raised bed soil?
Never completely if maintained properly. Annual addition of one inch compost replenishes nutrients and organic matter indefinitely. Complete replacement only becomes necessary after contamination events or severe compaction unresponsive to amendment. Well-maintained beds improve with age rather than degrading.
Why are my plants turning yellow in raised beds?
Test soil moisture at four-inch depth first, as overwatering mimics nutrient deficiency exactly. If soil is damp but not saturated, apply balanced organic fertilizer and monitor for two weeks. Persistent yellowing despite correction indicates pH imbalance or micronutrient lockout requiring professional soil testing through your extension service.
Do raised beds need drainage holes?
Yes, unless built directly on permeable native soil. Beds on concrete, compacted clay, or lined bases require drilled half-inch holes every twelve inches along bottom edges to prevent waterlogging. Standing water kills roots faster than drought does, and drainage is cheaper than rebuilding rotted frames.
Is it safe to grow vegetables near pressure-treated wood?
Current ACQ formulations don’t contain arsenic, but USDA organic standards prohibit any pressure-treated wood from contacting soil or crops. Older CCA lumber poses arsenic contamination risks and should never contact food-growing soil. Verify treatment stamps on all lumber; when origin is unknown, assume contamination and use protective liners or replace entirely.
How long does it take to build a raised bed?
Four to six hours for experienced builders with pre-cut materials and power tools. First-time builders should budget eight to twelve hours including site leveling, assembly, soil mixing, and initial filling. Rushing leads to unlevel frames or poorly blended fill that causes problems lasting years; accuracy matters more than speed.
Start your first bed today
Begin by measuring your sunniest available space and ordering soil test kits from your state extension service this week. Within two weeks you’ll have data confirming site safety and baseline fertility levels to guide your fill mix decisions. If tests reveal contamination or insufficient light, redirect efforts to a suitable location before investing in materials and labor.
{“@context”:”https://schema.org”,”@type”:”FAQPage”,”mainEntity”:[{“@type”:”Question”,”name”:”How deep should raised beds be for vegetables?”,”acceptedAnswer”:{“@type”:”Answer”,”text”:”Twelve inches minimum supports most common vegetables including tomatoes, peppers, and beans. Leafy greens and herbs manage six to eight inches adequately, while root crops like parsnips benefit from eighteen to twenty-four inches. Always match depth to your deepest-rooted planned crop, not the shallowest.”}},{“@type”:”Question”,”name”:”Can I use treated lumber for vegetable beds?”,”acceptedAnswer”:{“@type”:”Answer”,”text”:”Modern ACQ-treated pine doesn’t contain arsenic, but it’s prohibited from contacting soil or crops under USDA NOP organic standards. Avoid older CCA-treated wood containing arsenic, identifiable by greenish tint or pre-2004 manufacture date. When uncertain about treatment type, line interiors with food-safe polyethylene as precautionary barrier.”}},{“@type”:”Question”,”name”:”How often do I need to replace raised bed soil?”,”acceptedAnswer”:{“@type”:”Answer”,”text”:”Never completely if maintained properly. Annual addition of one inch compost replenishes nutrients and organic matter indefinitely. Complete replacement only becomes necessary after contamination events or severe compaction unresponsive to amendment. Well-maintained beds improve with age rather than degrading.”}},{“@type”:”Question”,”name”:”Why are my plants turning yellow in raised beds?”,”acceptedAnswer”:{“@type”:”Answer”,”text”:”Test soil moisture at four-inch depth first, as overwatering mimics nutrient deficiency exactly. If soil is damp but not saturated, apply balanced organic fertilizer and monitor for two weeks. Persistent yellowing despite correction indicates pH imbalance or micronutrient lockout requiring professional soil testing through your extension service.”}},{“@type”:”Question”,”name”:”Do raised beds need drainage holes?”,”acceptedAnswer”:{“@type”:”Answer”,”text”:”Yes, unless built directly on permeable native soil. Beds on concrete, compacted clay, or lined bases require drilled half-inch holes every twelve inches along bottom edges to prevent waterlogging. Standing water kills roots faster than drought does, and drainage is cheaper than rebuilding rotted frames.”}},{“@type”:”Question”,”name”:”Is it safe to grow vegetables near pressure-treated wood?”,”acceptedAnswer”:{“@type”:”Answer”,”text”:”Current ACQ formulations don’t contain arsenic, but USDA organic standards prohibit any pressure-treated wood from contacting soil or crops. Older CCA lumber poses arsenic contamination risks and should never contact food-growing soil. Verify treatment stamps on all lumber; when origin is unknown, assume contamination and use protective liners or replace entirely.”}},{“@type”:”Question”,”name”:”How long does it take to build a raised bed?”,”acceptedAnswer”:{“@type”:”Answer”,”text”:”Four to six hours for experienced builders with pre-cut materials and power tools. First-time builders should budget eight to twelve hours including site leveling, assembly, soil mixing, and initial filling. Rushing leads to unlevel frames or poorly blended fill that causes problems lasting years; accuracy matters more than speed.”}}]}