



A low-maintenance garden needs about two hours of work each month once established. Achieve this by replacing lawn with ground cover, choosing native plants, and installing drip irrigation before planting. This upfront effort eliminates weekly mowing, daily watering, and constant weeding while preserving aesthetic appeal through strategic layout and material choices.
What a simple garden actually means: How to Design Low Maintenance Garden
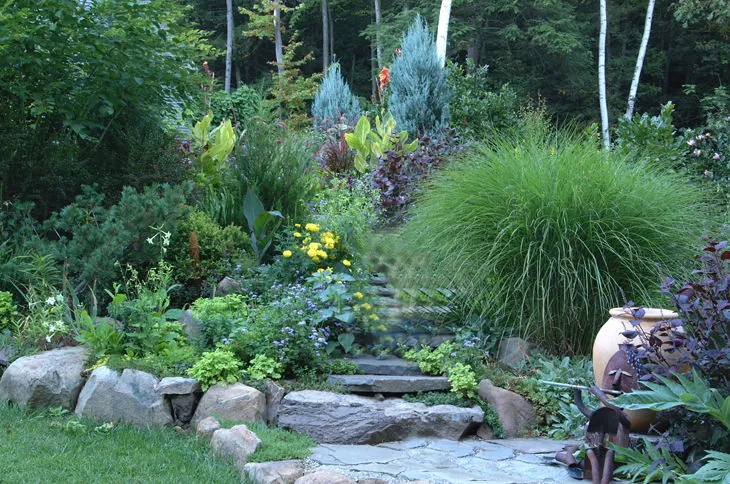
A low-maintenance garden is an outdoor space built to look good with under two hours of care each month. It uses permanent hard surfaces, slow-growing plants, and automated watering so you don’t have to stand outside with a hose every evening. It’s meant for people who want a usable yard without giving up their weekends to yard work.
The one thing people get wrong is thinking “low maintenance” means “no maintenance.” Every living plant needs water when it’s first put in the ground, and every paved surface collects leaves eventually. A simple garden just moves the heavy work from a weekly schedule to a seasonal one. Instead of mowing every Saturday, you might trim an edge twice a year.
The basic rule here is physical: a plant adapted to your local rain and soil grows without extra fertilizer or constant watering. Native species already match the climate they evolved in, so they survive dry spells and local pests on their own. Non-native ornamental plants usually demand extra inputs because they’re fighting the environment instead of fitting into it. That’s why the foundation of any easy-care space is local plants, not exotic ones.
This approach isn’t for someone who loves spending four hours every Sunday pruning roses or turning compost. If gardening is your main hobby and you enjoy the daily routine of tending beds, stripping away that work will leave you bored rather than relieved.
It’s also not for very steep slopes where water runs off too fast for drip lines to work unless you build terraces first. Terracing requires engineering knowledge to prevent collapse, so if your yard drops more than three feet over a short distance, hire a landscape contractor rather than digging into it yourself.
Steps to plan a low maintenance garden
- Draw the sun map. Spend one day watching your yard. Mark areas that get 6+ hours of direct sun, 3-6 hours, and under 3 hours. Plant tags list light needs based on these ranges. Putting a shade plant in full sun burns its leaves within a week; putting a sun plant in deep shade makes it stretch weakly and drop flowers.
- Remove the lawn you don’t walk on. Grass takes the most time of any garden feature. If you only use 400 square feet for sitting, don’t maintain 2,000 square feet of turf. Cut the unused grass short, lay overlapping cardboard directly on top, and cover it with 3 inches of wood chips. The grass dies in 8 to 12 weeks, leaving bare soil ready for planting without using chemicals.
- Install drip irrigation before planting. Lay half-inch main tubing along the edges of your beds, then run quarter-inch emitter lines to where each plant will sit. Emitters delivering 1 gallon per hour work for shrubs; those delivering 0.5 gallons per hour suit smaller perennials. Connecting this to a battery-operated timer on your spigot means you won’t need to drag hoses around later.
- Choose plants by their mature size. Read the tag for the width at 5 years, not the size in the pot. If a shrub grows 6 feet wide, plant it 6 feet from the path and 6 feet from the next shrub. Spacing them closer forces you to prune them constantly to keep the path clear, which defeats the entire purpose of choosing easy-care varieties.
- Group plants by water needs. Put the thirstiest plants nearest the house or the water source. Place drought-tolerant native species at the far edges. Running one drip zone for plants with different water requirements either drowns the dry ones or starves the wet ones.
- Apply 3 inches of hardwood mulch. Spread it over all bare soil, keeping it 2 inches away from the base of woody stems. Mulch blocks sunlight from reaching weed seeds, stopping most of them from sprouting. It also holds moisture in the soil, cutting the frequency your timer needs to run by roughly half during summer.
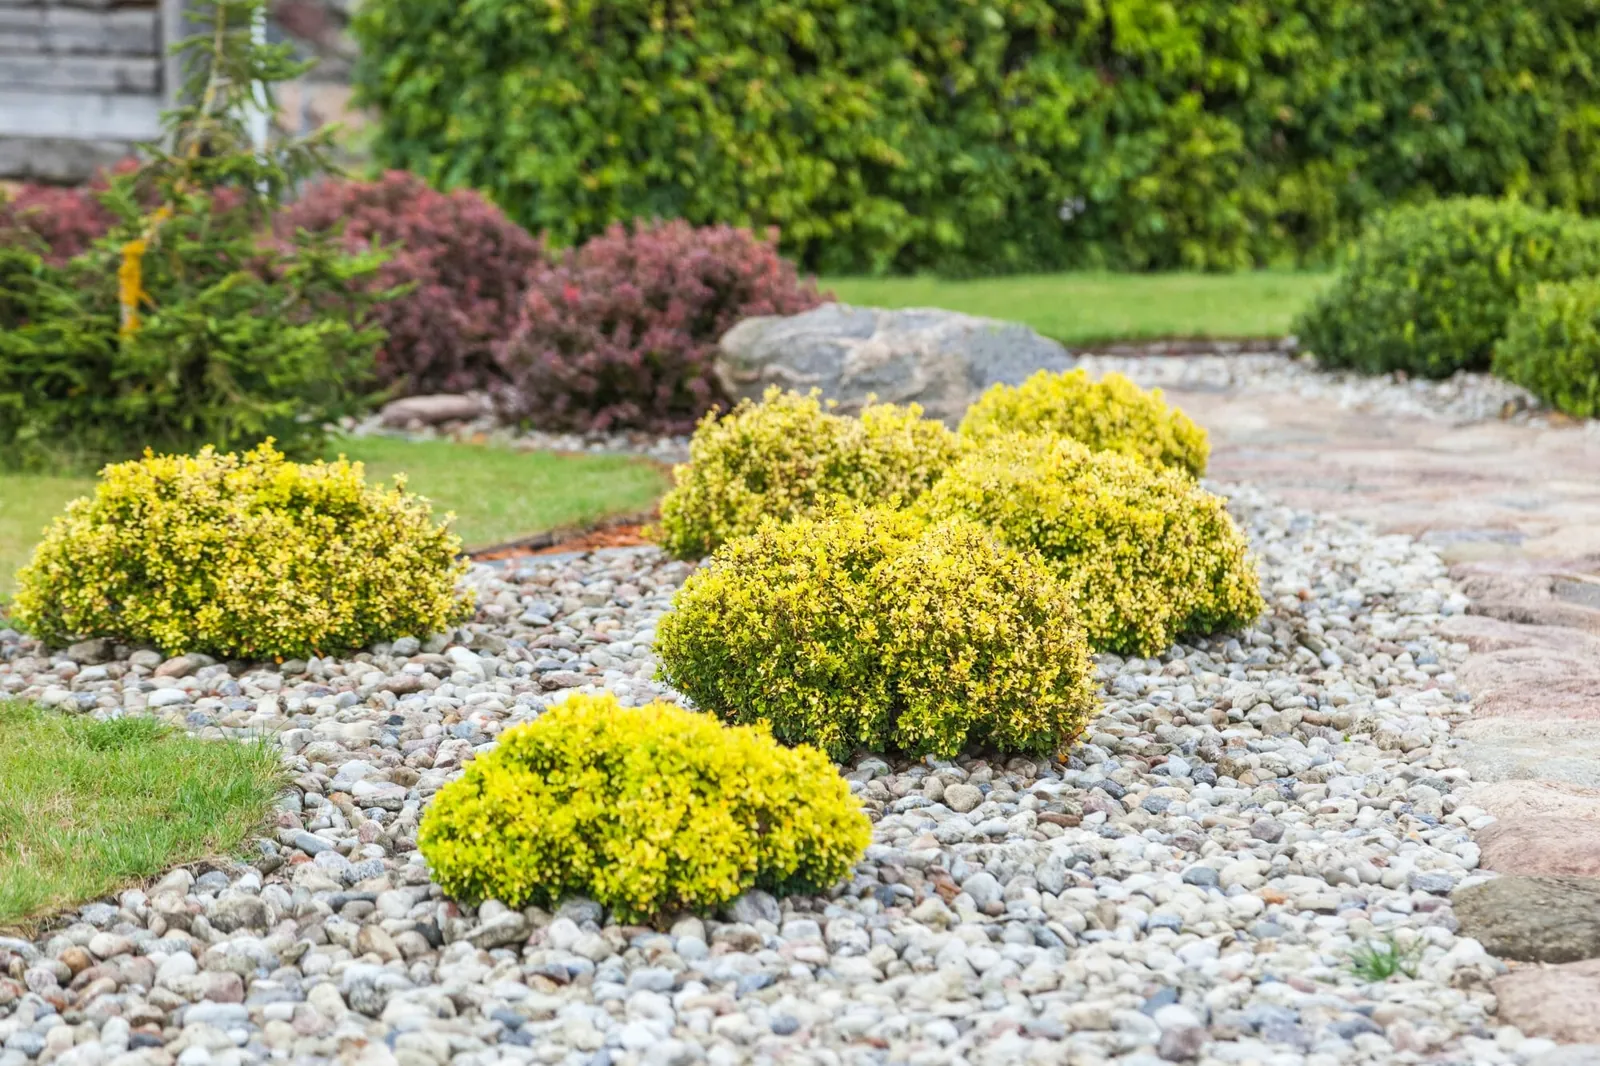
- Use gravel or pavers for paths. Wood chips break down and need topping up every year. Crushed granite or set concrete pavers stay in place for decades. If you use loose gravel, install metal or plastic edging first so it doesn’t wash into your planting beds during heavy rain.
The single judgment call that separates a good result from a bad one is deciding what stays and what goes before you buy anything. If you try to keep a high-maintenance feature—like a large pond or a formal hedge—and make everything else simple, the one complex element still eats all your free time. Commit fully to removing the things that demand constant attention.
Low maintenance garden settings and numbers
These figures give you the baseline measurements to buy materials and set timers correctly. They assume standard residential beds with average loam soil; if your soil is heavy clay, water drains slower, so reduce irrigation times by about a third to avoid rotting roots.
| Situation | What to use | How long | What to watch for |
|---|---|---|---|
| Newly planted shrubs (first year) | Drip emitters at 1 gallon/hour | Run 30 minutes, twice a week | Soil should be damp 4 inches down; soggy means run less often |
| Established native perennials (year 2+) | Same drip line, reduced schedule | Run 20 minutes, once every 10 days | Leaves curling inward means they need one extra cycle that month |
| Lawn replacement area (sheet mulching) | Plain brown cardboard, no glossy ink | 8 to 12 weeks to kill grass underneath | Weeds poking through seams mean the cardboard overlap wasn’t wide enough |
| Mulch layer for weed control | Shredded hardwood bark, 3 inches deep | Replenish 1 inch every spring | Mulch piled against tree trunks causes bark rot and invites insects |
| Gravel pathways | Crushed granite, 2 inches deep over landscape fabric | Lasts 10+ years without replacement | Edging must be flush with soil or gravel spills into adjacent beds |
| Automatic watering timer | Battery-operated hose-end timer | Set for early morning, 5 AM to 7 AM | Watering midday loses up to 30% to evaporation before it hits roots |
If you’re working with containers instead of in-ground beds, the rules change completely. Pots dry out much faster than the earth does. A 12-inch pot in full sun might need daily watering in July, even with mulch on top. For containers, add water-retaining crystals to the potting mix according to the package directions, and check the soil weight by lifting the pot—if it feels light, it’s dry.
Details that keep a simple garden simple
Preparation dictates everything that happens after the plants go in. Skipping the cardboard step when killing grass means you’ll spend the next two summers pulling weeds out of your new beds. Taking the time to smother the old lawn properly saves dozens of hours later. The same applies to soil testing. Your local university extension office provides soil test kits that tell you exactly what nutrients are missing, preventing you from buying fertilizers your plants can’t use.
Getting the spacing right
Spacing is where the trade-off becomes obvious. Buying small, cheap plants spaced far apart saves money today but leaves bare soil exposed for three years, inviting weeds and forcing you to mulch heavily until they fill in. Buying larger, mature plants costs more upfront but covers the ground immediately, blocking weeds from day one. If your budget allows, buy plants in 1-gallon pots or larger rather than tiny plugs.
Check your beds at the start of each season. Look for gaps where a plant died over winter. Fill them quickly with a fast-spreading ground cover like creeping thyme or sedum, rather than leaving bare dirt open for weeds to claim. Don’t bother trying to save a struggling plant that hasn’t grown in two seasons. Digging it out and replacing it with a healthy native specimen takes 20 minutes; nursing a dying one wastes months of attention.
Leave fallen leaves alone in your perennial beds during autumn. Raking them out strips away the natural mulch that protects plant roots from freezing and feeds the soil as they break down. Only clear leaves off solid pathways where they become slippery when wet. Letting nature do the mulching for you in the back beds removes one entire seasonal chore from your calendar.
When your easy garden stops being easy
| What you notice | What it usually means | What to do first |
|---|---|---|
| Weeds growing thickly through mulch | The mulch layer dropped below 2 inches, letting light reach weed seeds | Pull the visible weeds, then add another 2 inches of fresh hardwood bark |
| Plants turning yellow while soil is wet | Roots are drowning because clay soil isn’t draining fast enough | Stop the irrigation timer for a week; if they don’t green up, dig them up and amend the hole with coarse sand |
| Drip emitters spraying wildly instead of dripping | A line cracked over winter, or a fitting blew off from pressure | Turn off the water, walk the line to find the leak, and push a barbed coupling into the broken section |
| Shrubs growing into the walking path | They were planted too close to the edge for their mature width | Prune them back hard once now, but plan to move them further back next dormant season |
| Moss taking over gravel paths | The area gets too much shade and stays constantly damp | Rake the moss out, then spread a thin layer of fresh gravel to restore drainage |
If your irrigation system fails repeatedly despite fixing leaks, the water pressure from your spigot might be too high for the drip fittings. Standard household pressure is often 60 PSI, but drip lines work best around 25 PSI. Installing a pressure regulator between the spigot and the timer stops the fittings from blowing apart.
When a problem involves large trees dropping heavy branches onto your structures, or roots cracking your foundation pipes, stop handling it yourself. Removing mature trees or cutting roots near foundations risks property damage and personal injury. Call a certified arborist for tree issues, or a licensed plumber if roots have invaded your sewer line.
Rules for changing your yard
Before you tear out your front lawn, check your local rules. Some homeowners associations strictly forbid replacing grass with gravel or native plants, requiring a specific percentage of turf in front yards. Even without an HOA, some municipalities classify certain aggressive spreading plants as noxious weeds.
The USDA maintains a list of noxious weeds regulated at the federal level, and your state agriculture department publishes its own list of banned species. Planting something on that list can result in fines and forced removal.
Water restrictions are another legal boundary. During drought declarations, local water districts often ban daytime irrigation entirely. An automated timer set to run at 5 AM keeps you compliant without needing to wake up early to turn on a hose manually. If you live in an area with tiered water pricing, exceeding your allocation pushes you into a higher rate bracket, making a thirsty garden expensive as well as illegal during bans.
Permeable surfaces matter for stormwater runoff. Many cities require that a certain percentage of your yard absorbs rain rather than sending it straight into the street drains. Solid concrete patios violate this in some zones, while gravel paths or spaced pavers with ground cover between them meet the requirement. Check your city’s planning department website for local impervious surface limits before pouring concrete.
If your project involves moving utility lines, digging deeper than 12 inches near the street, or altering drainage patterns that affect your neighbor’s property, you need permits. Call 811 in the US before digging anywhere to have underground gas, water, and electrical lines marked for free. Hitting a gas line isn’t a DIY fix—it’s an immediate evacuation and a call to the utility company.
Keeping it working afterwards
Once the plants are in and the mulch is down, the work shifts from building to preserving. Walk the garden once a month for 15 minutes. Look for broken drip lines, weeds taller than 3 inches, or mulch that has washed away during storms. Catching these small issues monthly prevents them from becoming weekend-long repair jobs in summer.
Pruning should happen only once a year, during late winter while plants are dormant. Cut back dead stems on perennials to 2 inches above the soil. Shape shrubs only to remove crossing branches that rub against each other, which creates wounds where disease enters. Don’t shear everything into boxes; formal shapes demand trimming every few weeks to stay neat, while natural shapes grow out gracefully over months.
Record your timer settings in a notebook or on your phone. Note how many minutes you run each zone in spring versus summer. When the weather cools in autumn, dial the runtime back by half. Leaving summer settings running into October drowns plants preparing for dormancy and encourages root rot.
Hard surfaces need attention too. Sweep gravel paths once in spring to redistribute stones that migrated to the edges. Power wash pavers only if algae makes them dangerously slippery; otherwise, leave them alone. Constant washing strips the joint sand out from between pavers, causing them to shift and settle unevenly over time.
When a low maintenance garden is the wrong choice
If your yard sits on a steep hillside, laying flat mulch and standard drip lines won’t hold up. Rain washes loose material downhill, exposing roots and clogging lower areas. Steep slopes require terracing with retaining walls to create flat planting shelves. Building safe retaining walls over 3 feet tall demands structural engineering to handle the weight of wet soil behind them. For hillsides, skip the DIY garden plan and hire a landscape architect who calculates load-bearing limits.
If you rent your home, investing hundreds of dollars in permanent hardscaping and expensive mature shrubs doesn’t make financial sense. Landlords might alter the yard later, or you might move before the plants establish. Renters should focus entirely on container gardening using large pots filled with native perennials. You get the low-water benefits without modifying property you don’t own, and you take the pots with you when you leave.
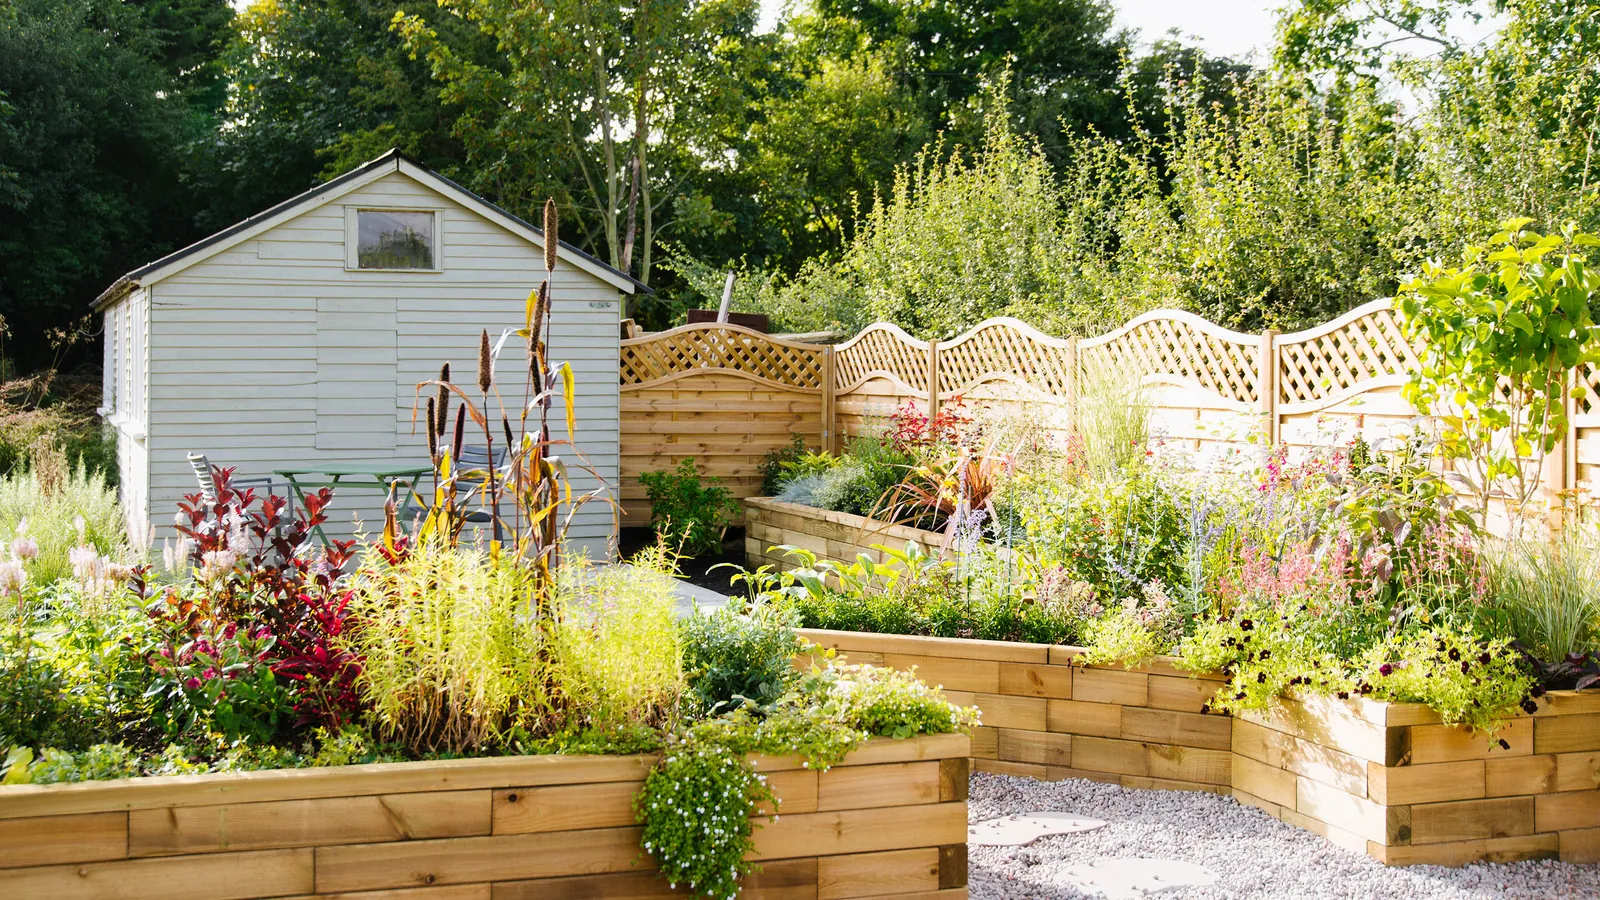
If you live in a region with extremely poor, rocky soil and no topsoil, digging planting holes for in-ground beds breaks tools and exhausts you. Amending an entire yard of rock requires importing tons of soil, which is heavy labor. In this case, build raised beds using untreated timber or stone blocks, fill them with purchased garden soil, and apply the same spacing and watering rules inside the boxes. Raised beds isolate your plants from the unworkable ground below.
Frequently asked questions
Can I design a low maintenance garden on a tight budget?
Yes, but you’ll trade money for time. Sheet mulching with free cardboard from appliance stores costs nothing but takes 3 months to kill the grass. Buying small plug plants is cheaper than 1-gallon pots, but you’ll spend the first two years pulling weeds between them until they grow large enough to touch. Start with one small bed rather than doing the whole yard at once.
Why do my new native plants keep dying?
Native plants are tough once established, but they still need regular water for their first full growing season. Their root systems haven’t reached deep soil moisture yet. If you plant them in spring and stop watering by June, they’ll dry out and die before their roots anchor. Run your drip system on the schedule listed above for the entire first year.
How long does sheet mulching take to kill grass?
It takes 8 to 12 weeks for cardboard covered in 3 inches of mulch to completely smother standard lawn grass. This assumes you overlapped the cardboard edges by at least 6 inches so grass blades can’t reach sunlight through the seams. Thick, woody weeds or invasive runners like Bermuda grass might push through and require a second layer of cardboard.
Is it safe to use gravel instead of grass near a house?
Yes, gravel is safe and actually reduces fire risk compared to dry grass near structures. However, don’t pile it against your siding or brickwork. Leave a 6-inch gap of bare soil or metal flashing between the gravel edge and your house foundation. Gravel holds moisture against wood, which invites termites and promotes rot over time.
What happens if I don’t put edging around my gravel path?
Without metal or plastic edging buried flush with the soil, gravel migrates into your planting beds every time it rains or someone walks on it. Within a year, your path thins out and your mulched beds fill with stones. Installing edging takes a few hours of trenching but prevents you from raking stones back onto the path every month.
How often should I replace the mulch in my beds?
You don’t replace it entirely; you just top it up. Hardwood bark breaks down slowly. Check the depth every spring. If it has compressed below 2 inches, add 1 fresh inch on top to bring it back to 3 inches. Stripping out old mulch removes the decomposed organic matter that’s actively feeding your soil and improving its structure.
How much does an automatic drip system cost to run?
The water usage depends entirely on your local utility rates and the number of emitters running. A typical setup with 20 emitters delivering 1 gallon per hour, running twice a week for 30 minutes, uses about 10 gallons per watering session. Check your water bill for your cost per gallon or cubic foot to calculate your exact local expense, as rates vary drastically by municipality.
Conclusion
Every garden asks for something, but the amount of time you give it’s a choice you make before the first shovel hits the dirt. Pick the materials that stay put, the plants that belong in your climate, and the watering system that runs itself. The work happens on paper first, and the reward is a quiet yard that lets you sit down instead of standing up.
{“@context”:”https://schema.org”,”@type”:”FAQPage”,”mainEntity”:[{“@type”:”Question”,”name”:”Can I design a low maintenance garden on a tight budget?”,”acceptedAnswer”:{“@type”:”Answer”,”text”:”Yes, but you’ll trade money for time. Sheet mulching with free cardboard from appliance stores costs nothing but takes 3 months to kill the grass. Buying small plug plants is cheaper than 1-gallon pots, but you’ll spend the first two years pulling weeds between them until they grow large enough to touch. Start with one small bed rather than doing the whole yard at once.”}},{“@type”:”Question”,”name”:”Why do my new native plants keep dying?”,”acceptedAnswer”:{“@type”:”Answer”,”text”:”Native plants are tough once established, but they still need regular water for their first full growing season. Their root systems haven’t reached deep soil moisture yet. If you plant them in spring and stop watering by June, they’ll dry out and die before their roots anchor. Run your drip system on the schedule listed above for the entire first year.”}},{“@type”:”Question”,”name”:”How long does sheet mulching take to kill grass?”,”acceptedAnswer”:{“@type”:”Answer”,”text”:”It takes 8 to 12 weeks for cardboard covered in 3 inches of mulch to completely smother standard lawn grass. This assumes you overlapped the cardboard edges by at least 6 inches so grass blades can’t reach sunlight through the seams. Thick, woody weeds or invasive runners like Bermuda grass might push through and require a second layer of cardboard.”}},{“@type”:”Question”,”name”:”Is it safe to use gravel instead of grass near a house?”,”acceptedAnswer”:{“@type”:”Answer”,”text”:”Yes, gravel is safe and actually reduces fire risk compared to dry grass near structures. However, don’t pile it against your siding or brickwork. Leave a 6-inch gap of bare soil or metal flashing between the gravel edge and your house foundation. Gravel holds moisture against wood, which invites termites and promotes rot over time.”}},{“@type”:”Question”,”name”:”What happens if I don’t put edging around my gravel path?”,”acceptedAnswer”:{“@type”:”Answer”,”text”:”Without metal or plastic edging buried flush with the soil, gravel migrates into your planting beds every time it rains or someone walks on it. Within a year, your path thins out and your mulched beds fill with stones. Installing edging takes a few hours of trenching but prevents you from raking stones back onto the path every month.”}},{“@type”:”Question”,”name”:”How often should I replace the mulch in my beds?”,”acceptedAnswer”:{“@type”:”Answer”,”text”:”You don’t replace it entirely; you just top it up. Hardwood bark breaks down slowly. Check the depth every spring. If it has compressed below 2 inches, add 1 fresh inch on top to bring it back to 3 inches. Stripping out old mulch removes the decomposed organic matter that’s actively feeding your soil and improving its structure.”}},{“@type”:”Question”,”name”:”How much does an automatic drip system cost to run?”,”acceptedAnswer”:{“@type”:”Answer”,”text”:”The water usage depends entirely on your local utility rates and the number of emitters running. A typical setup with 20 emitters delivering 1 gallon per hour, running twice a week for 30 minutes, uses about 10 gallons per watering session. Check your water bill for your cost per gallon or cubic foot to calculate your exact local expense, as rates vary drastically by municipality.”}}]}