




Accessible garden design ideas start with wide, flat paths and raised beds to make your garden usable for everyone. You need paths at least 1.2 meters wide and raised beds between 60 and 90 centimeters high.
Accessible garden design ideas that work
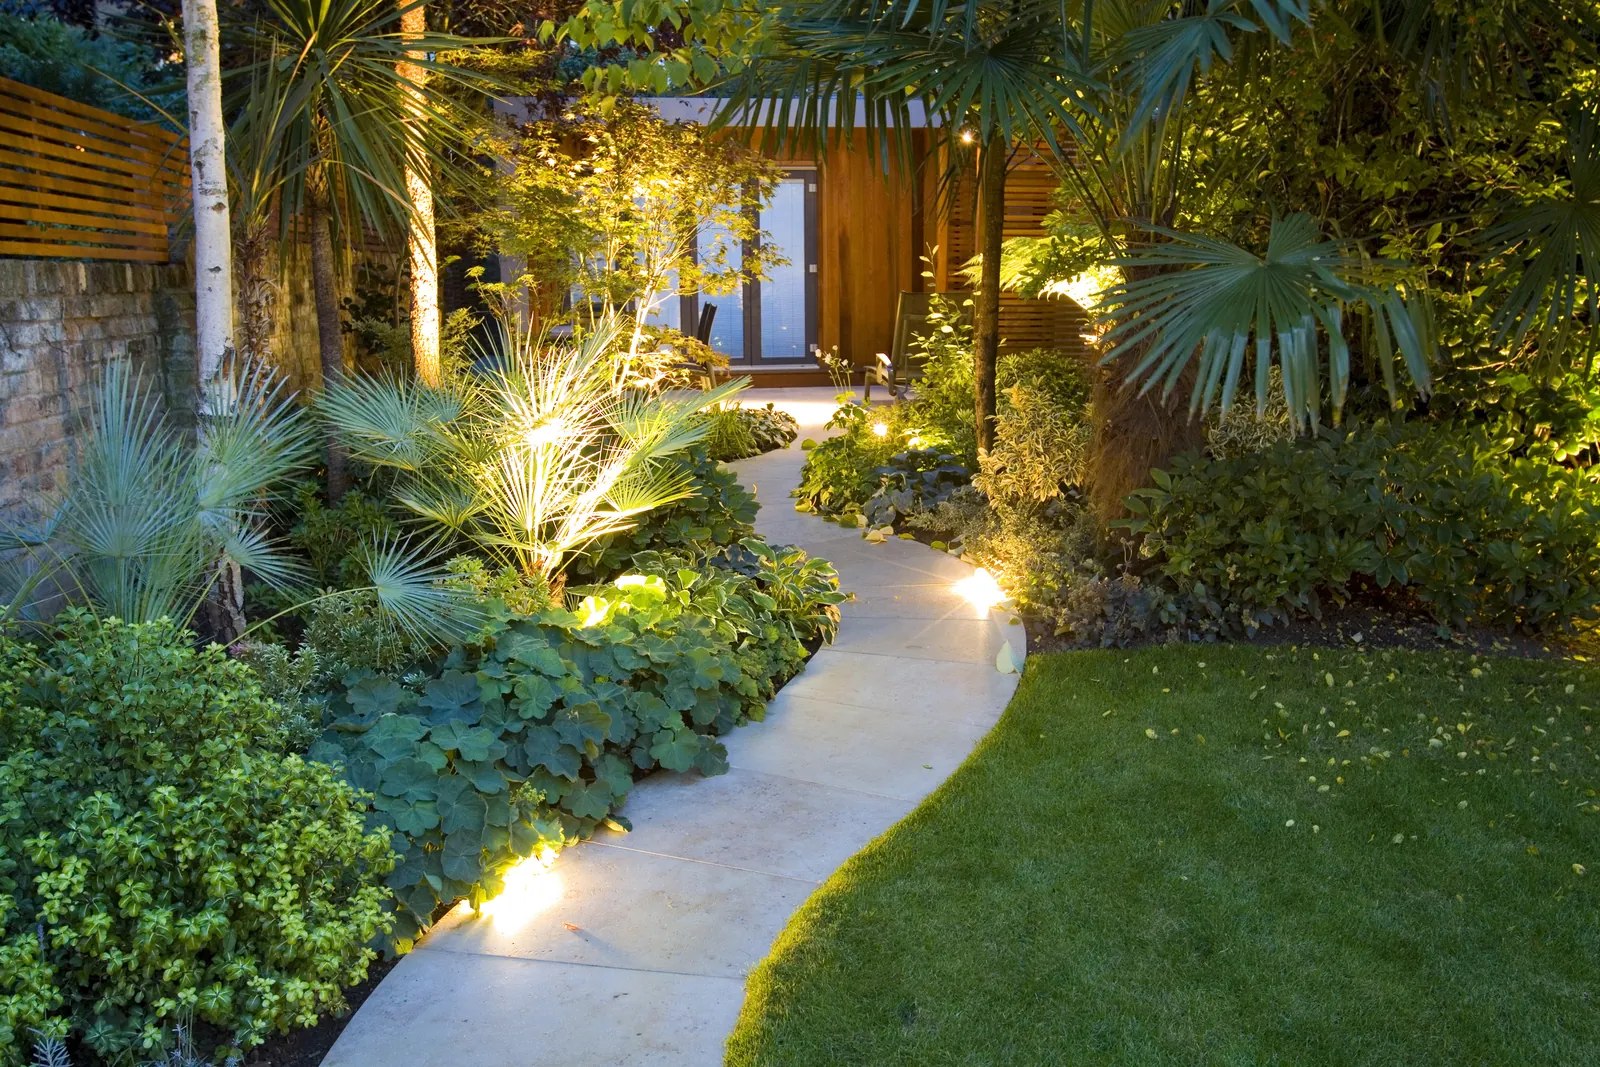
An accessible garden is a space where people of all ages and abilities can move, rest, and grow plants safely. It isn’t just about adding a ramp; it’s about designing the whole layout so no one gets stuck or tired too quickly. Many people think accessibility means making the garden look clinical or boring, but that’s a myth. You can have colorful flowers, fragrant herbs, and interesting textures while still keeping paths clear and surfaces firm.
The key rule is simple: if a person uses a wheelchair, walker, or has limited balance, they must be able to enjoy every part of the space without help. Measure your main walking routes at four feet wide so two people or a chair and a gardener can pass side by side. If you can’t fit a wheelbarrow through a gate without tilting it, that opening is too narrow for long-term use.
This approach helps parents with strollers and older adults who want to stay independent in their own yard. Place a sturdy bench every thirty feet along any path longer than a hundred feet, because fatigue often strikes before a person realizes they need to stop. Choose plants with strong stems that don’t drop thorns or slippery fruit onto the walkway, as these hidden hazards cause more falls than uneven pavement ever does.
The goal is to create a place where the garden works for you, not one where you struggle to work in the garden.
Step-by-step layout for easy access
Building an accessible garden takes careful planning, but you can do it yourself if you follow these specific steps. Each step ensures the final result is safe and easy to use for years.
- Measure your total space and draw a map, marking where the sun hits hardest and where water collects after rain.
- Lay out main paths first, making them at least 1.2 meters (4 feet) wide so wheelchairs can turn around comfortably.
- Choose a hard surface like compacted gravel, concrete, or solid pavers; avoid loose sand or mulch which stops wheels.
- Install raised beds or containers at a height of 75 centimeters (30 inches) for seated gardening or 90 centimeters (36 inches) for standing.
- Place water taps and tool storage within 1 meter of your main sitting area so you don’t have to carry heavy items far.
- Add handrails on both sides of any slope steeper than 1:12, ensuring they’re grippable and secure.
- Select plants with long stems or grow them in hanging baskets so you can harvest without bending down to the ground.
The most important judgment call here is choosing your path material. Smooth concrete is easiest for wheels but can get hot and slippery when wet, while textured pavers offer grip but might shake a wheelchair slightly. If you have neighbors with very shaky hands or poor balance, choose the textured option for safety; if speed and smooth rolling are your priority, go with sealed concrete.
Never try to build steep ramps or complex irrigation systems yourself if you aren’t sure about the engineering. For slopes over 5 degrees or electrical pump systems, hire a licensed contractor who knows local building codes to ensure the structure holds up safely.
Key measurements and settings
Getting the numbers right is the difference between a garden you can use and one that blocks you. Use this table to check your plan against standard accessibility requirements before you buy any materials.
| Situation | What to use | How long / High | What to watch for |
|---|---|---|---|
| Main walking path | Concrete or solid pavers | 1.2 meters wide minimum | Ensure no gaps wider than 1.3 cm trap small wheels |
| Raised bed for sitting | Wood or metal frame | 60 to 75 cm high | Leave 90 cm clearance underneath for knee space |
| Raised bed for standing | Wood or masonry | 85 to 95 cm high | Make sure the edge is rounded so it doesn’t hurt arms |
| Ramp slope | Concrete with texture | 1 meter long for every 12 cm rise | Install handrails if the rise is more than 15 cm total |
| Turning circle | Same as path surface | 1.5 meters diameter | Keep this area completely free of pots, benches, or plants |
| Tool reach zone | Hanging or wall-mounted | Within 45 cm forward reach | Don’t place heavy items above shoulder height |
These figures assume a standard adult wheelchair or walker user. If you’re designing for children or very large mobility scooters, you may need to increase the width of paths by another 30 centimeters. Always test your layout with a tape measure on the ground before pouring any concrete or laying bricks.
Details that separate good from bad results
Experienced designers know that the smallest details cause the biggest problems later. A common mistake is forgetting about the “knee space” under raised beds. If you build a box that’s the right height but has a solid apron all the way down, a person in a wheelchair can’t roll their legs under it. This forces them to reach forward awkwardly, which hurts their back and makes watering difficult.
The fix is simple: leave the bottom 30 centimeters of the bed frame open or recessed so knees fit comfortably. Measure this clearance from the finished floor level, not the dirt, because adding mulch later can silently erase the gap you planned for.
Another detail pros get right is the transition between different surfaces. Beginners often join a smooth patio to a gravel path with a sudden drop or a lip. This tiny edge catches wheelchair footrests and trips walkers instantly. You must blend these surfaces flush or use a very gentle bevel so wheels roll over without a bump.
Test any slope with a coin; if the coin tips over, the angle is too steep for safe daily use. Also, think about shade. People with certain health conditions tire quickly in direct sun. Planting tall trees or installing pergolas over resting spots allows users to stay outside longer without overheating.
Don’t fill every corner with plants; leave open zones for parking a chair or setting down a tray. Clutter is the enemy of accessibility, even if the plants are beautiful. Reserve at least one square meter of clear floor at every seating area so a caregiver can stand beside the user without stepping on roots.
Common problems and quick fixes
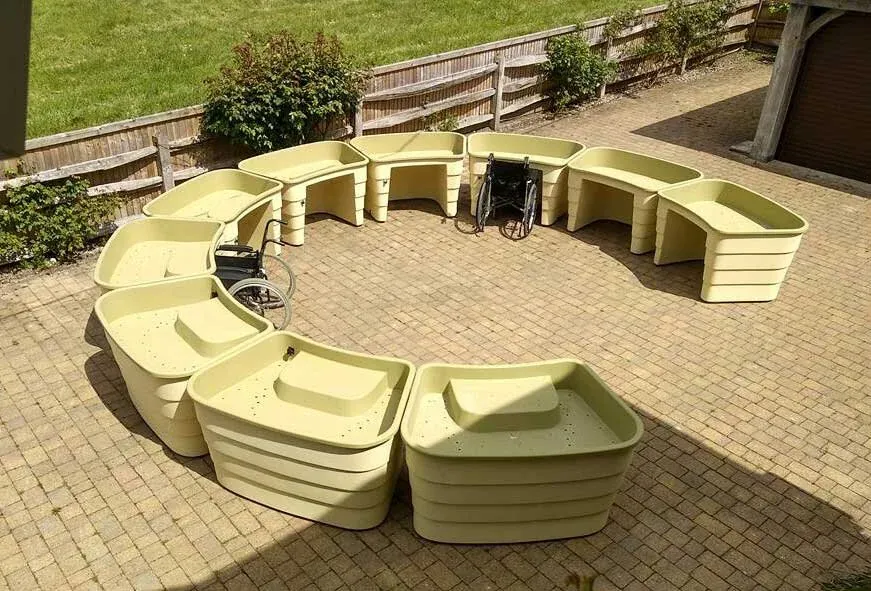
Even well-planned gardens face issues as seasons change or materials settle. Here is how to spot and fix the most frequent trouble spots.
| What you notice | What it usually means | What to do first |
|---|---|---|
| Wheels sink into the path | Surface material is too loose or shifted | Rake gravel back into place or add a stabilizing binder spray |
| Plants block the walkway | Growth was faster than expected | Prune branches back to keep the full 1.2-meter width clear |
| Water pools on the path | Ground isn’t sloped enough for drainage | Add a channel drain or re-grade the surface to slope 2% away |
| Bench feels unstable | Legs are sinking into soft soil | Place large flat stones under each leg to spread the weight |
| Door gate is too tight | Hinges have sagged or frame warped | Adjust the latch strike plate or widen the opening by 5 cm |
If you see water pooling frequently, it means your base layer might be failing. Don’t just pour more concrete on top; you need to dig down and fix the drainage slope first. Ignoring this leads to ice patches in winter which are dangerous for everyone.
Safety rules and legal limits
Accessibility in public spaces follows strict laws, and while private gardens are more flexible, following official standards ensures safety for all visitors. In the United States, the Department of Justice enforces the ADA Standards for Accessible Design, which set the baseline for ramp slopes, path widths, and door openings.
These rules exist to prevent injury and ensure independence. For example, a ramp must never be steeper than a 1:12 ratio, meaning for every inch of height, you need twelve inches of length. Going steeper than this makes it impossible for many people to push themselves up safely.
A common mistake is building a short ramp at a gentle angle that feels fine until rain hits the surface. Wet wood or smooth concrete reduces traction drastically, causing wheels to slip backward even on compliant slopes. If your garden sees frequent rain or morning dew, add textured strips every four feet or choose a gentler 1:16 ratio for extra margin. This small change prevents falls when conditions turn slick, saving you from liability claims later.
You should also check local building codes before constructing permanent structures like decks or covered patios. Some areas require permits for anything over a certain height or square footage. If you plan to install electrical lighting or automated watering systems, these must meet the National Electrical Code to prevent fire or shock hazards.
Never guess these numbers; getting them wrong can void your home insurance or lead to fines. For the most current federal guidelines on slopes and clearances, you can review the official ADA Standards for Accessible Design published by the government. Following these named standards protects you and makes your garden welcoming for guests who rely on these features daily.
Keeping your garden usable year-round
Once your garden is built, maintenance keeps it safe. Check your paths every month, especially after heavy rain or frost. Look for cracks in concrete or loose pavers that could trip someone. Sweep away leaves and wet grass immediately, as these become slippery mats when wet. In winter, clear snow from all pathways and ramps before it turns to ice; use salt or sand that won’t damage the surface or hurt plant roots.
If you live where temperatures drop below freezing overnight, switch from rock salt to calcium magnesium acetate on concrete paths, as standard salt eats away the binder and creates potholes within two seasons. On gravel walks, rake deeply once a month to redistribute stones that have shifted underfoot, filling low spots before they collect standing water that freezes into hidden hazards.
Raised beds need regular checking too. Ensure the soil level stays about 5 centimeters below the rim so water doesn’t spill onto the path. If you use wood frames, inspect them for rot once a year and reseal them if they look gray or soft.
Keep tools organized in a shed or on wall hooks near the entrance so they never end up lying on the walkway. A tidy garden is a safe garden. If you notice a plant growing too large and blocking light or space, prune it back early in the season rather than waiting until it becomes an obstacle. Regular small checks prevent big repairs later.
When pruning overgrown shrubs, cut branches back to a lateral bud facing outward rather than leaving stubs that invite disease and weaken the structure during winter storms. Store long-handled tools horizontally on racks instead of leaning them against walls, where a gust of wind can knock them across a wet path in seconds.
When to choose a different approach
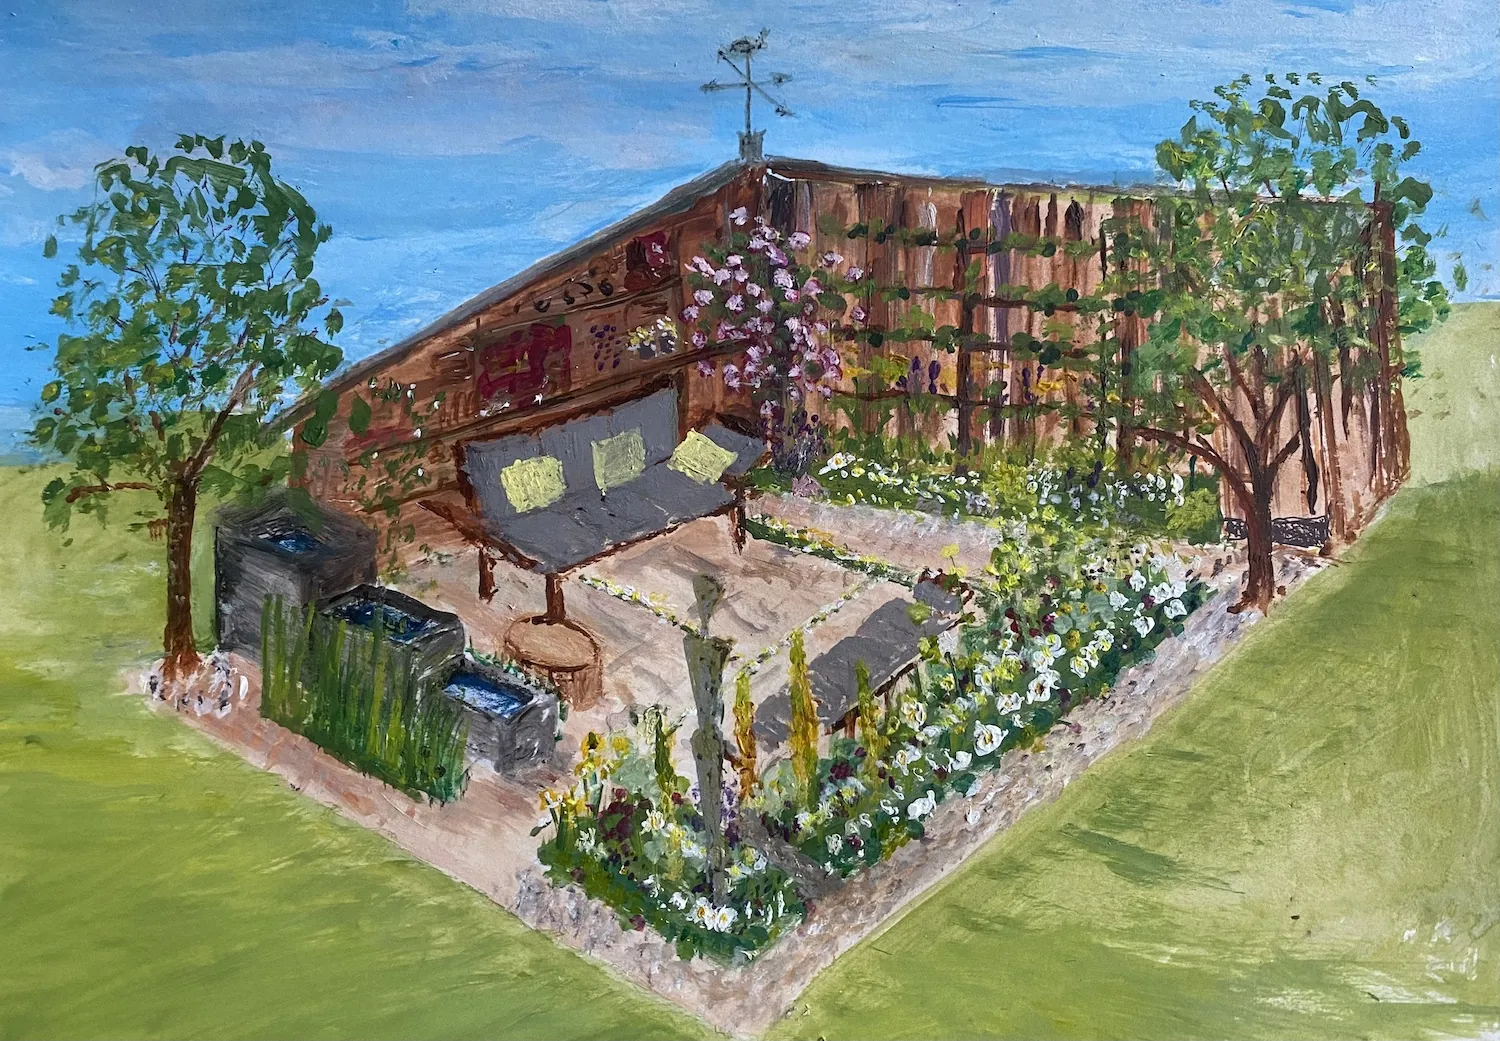
Sometimes, standard accessible design ideas aren’t the best solution for your specific situation. If your garden sits on a slope steeper than fifteen degrees, cutting a flat path often triggers landslides or demands massive retaining walls that cost more than the house itself.
In this case, trying to force a long ramp creates a dangerous ice trap in winter and an expensive failure in spring. A terraced approach with platform lifts solves the grade issue, though this requires professional engineering to ensure the structure holds under wet soil loads.
Instead of fighting the earth, consider container gardening on a flat balcony or patio where you control the level completely. This shifts the work from moving tons of dirt to lifting lightweight pots, which many people can manage with a simple dolly.
Another time to skip traditional in-ground beds is if you have severe allergies to soil dust or mold spores. Working directly with earth might trigger breathing problems even if the path is perfect and wide enough for a wheelchair. Here, hydroponic systems or indoor vertical gardens offer a cleaner alternative that keeps you away from soil triggers while still providing fresh produce. These closed systems eliminate the need for digging and reduce the risk of fungal exposure significantly.
Finally, if your budget is very limited, don’t try to pave the whole yard at once. Start with one small, perfectly accessible loop near your back door that connects to your most-used plants. Doing a small job well is better than doing a large job poorly with unsafe transitions that trip walkers or stick chair wheels. Honesty about what you can afford and manage now saves you from creating hazards you can’t fix later without starting over.
Frequently asked questions
How wide should garden paths be for wheelchairs?
Paths must be at least 1.2 meters (4 feet) wide to allow a wheelchair to pass through comfortably. If you want two people to walk side-by-side or a wheelchair to turn around easily, aim for 1.5 meters (5 feet). Anything narrower than 90 centimeters (3 feet) will trap most mobility devices and make movement stressful. This width assumes a standard manual or electric wheelchair; larger medical scooters may need slightly more room.
Can I use gravel for accessible paths?
Yes, but only if it’s finely crushed and compacted tightly as “decomposed granite.” Large, loose stones will stop wheels and make walking hard for anyone with balance issues.
Why are my raised beds hurting my back?
Your beds are likely too low for your body height. For comfortable gardening without bending, the soil surface should be about 45 to 60 centimeters (18 to 24 inches) below your elbow when you stand straight. If you garden while sitting in a chair, the bed height should match the armrest level of your seat. Measuring your own body before building prevents this pain and lets you work longer without strain.
Is it safe to install a ramp myself?
It’s safe if the ramp is short, low to the ground, and follows the 1:12 slope rule strictly. However, ramps higher than 75 centimeters (30 inches) require a professional to prevent collapsing.
What happens if I make the path too smooth?
A path that’s too smooth, like polished stone or wet concrete, becomes extremely slippery when it rains or freezes. This causes falls for people using walkers or canes. You need a surface with a little texture to provide grip. Aim for a “slip-resistant” rating on pavers or brush concrete while it’s drying to create a rough finish. Balance smoothness for wheels with enough friction to keep feet steady.
How long does an accessible garden take to build?
A simple project with one new path and two raised beds usually takes a weekend (about 16 hours) for two people. Larger projects involving grading or drainage can take several weeks depending on weather.
Conclusion
Take a moment to walk through your space and imagine how it feels for everyone. You’ll want to add soft seating where friends can rest and chat together. It’s really about creating a place where you’re all happy to spend time outdoors.
{“@context”:”https://schema.org”,”@type”:”FAQPage”,”mainEntity”:[{“@type”:”Question”,”name”:”How wide should garden paths be for wheelchairs?”,”acceptedAnswer”:{“@type”:”Answer”,”text”:”Paths must be at least 1.2 meters (4 feet) wide to allow a wheelchair to pass through comfortably. If you want two people to walk side-by-side or a wheelchair to turn around easily, aim for 1.5 meters (5 feet). Anything narrower than 90 centimeters (3 feet) will trap most mobility devices and make movement stressful. This width assumes a standard manual or electric wheelchair; larger medical scooters may need slightly more room.”}},{“@type”:”Question”,”name”:”Can I use gravel for accessible paths?”,”acceptedAnswer”:{“@type”:”Answer”,”text”:”Yes, but only if it’s finely crushed and compacted tightly as \”decomposed granite.\” Large, loose stones will stop wheels and make walking hard for anyone with balance issues.”}},{“@type”:”Question”,”name”:”Why are my raised beds hurting my back?”,”acceptedAnswer”:{“@type”:”Answer”,”text”:”Your beds are likely too low for your body height. For comfortable gardening without bending, the soil surface should be about 45 to 60 centimeters (18 to 24 inches) below your elbow when you stand straight. If you garden while sitting in a chair, the bed height should match the armrest level of your seat. Measuring your own body before building prevents this pain and lets you work longer without strain.”}},{“@type”:”Question”,”name”:”Is it safe to install a ramp myself?”,”acceptedAnswer”:{“@type”:”Answer”,”text”:”It’s safe if the ramp is short, low to the ground, and follows the 1:12 slope rule strictly. However, ramps higher than 75 centimeters (30 inches) require a professional to prevent collapsing.”}},{“@type”:”Question”,”name”:”What happens if I make the path too smooth?”,”acceptedAnswer”:{“@type”:”Answer”,”text”:”A path that’s too smooth, like polished stone or wet concrete, becomes extremely slippery when it rains or freezes. This causes falls for people using walkers or canes. You need a surface with a little texture to provide grip. Aim for a \”slip-resistant\” rating on pavers or brush concrete while it’s drying to create a rough finish. Balance smoothness for wheels with enough friction to keep feet steady.”}},{“@type”:”Question”,”name”:”How long does an accessible garden take to build?”,”acceptedAnswer”:{“@type”:”Answer”,”text”:”A simple project with one new path and two raised beds usually takes a weekend (about 16 hours) for two people. Larger projects involving grading or drainage can take several weeks depending on weather.”}}]}