
Seed Scarification: How to Break Dormancy and Boost Germination Fast
Learn seed scarification methods to boost germination fast. Simple step-by-step guide for beginners to grow seeds successfully.
BEGINNER'S GUIDE
4/29/20264 min read
🌱 Why Your Seeds Aren’t Sprouting (Even When You Do Everything Right)
You plant your seeds carefully.
You water them.
You give them sunlight.
You wait patiently.
But nothing happens.
No sprouts. No growth. Just soil.
If this sounds familiar, the problem may not be your care—it may be the seed itself.
Some seeds have a natural defense mechanism that prevents them from sprouting too early. This is where seed scarification becomes essential.
👉 Once you understand this simple technique, you can dramatically improve your germination success.
In this guide, you’ll learn:
What seed scarification is
When to use it
Step-by-step methods that actually work
What Is Seed Scarification?
Seed scarification is the process of breaking, scratching, or softening a seed’s outer coating to help it germinate.
Why Seeds Need It
Some seeds have hard outer shells that:
Block water absorption
Delay germination
Protect seeds in harsh environments
👉 According to the United States Department of Agriculture, dormancy is a natural survival strategy in many plant species.
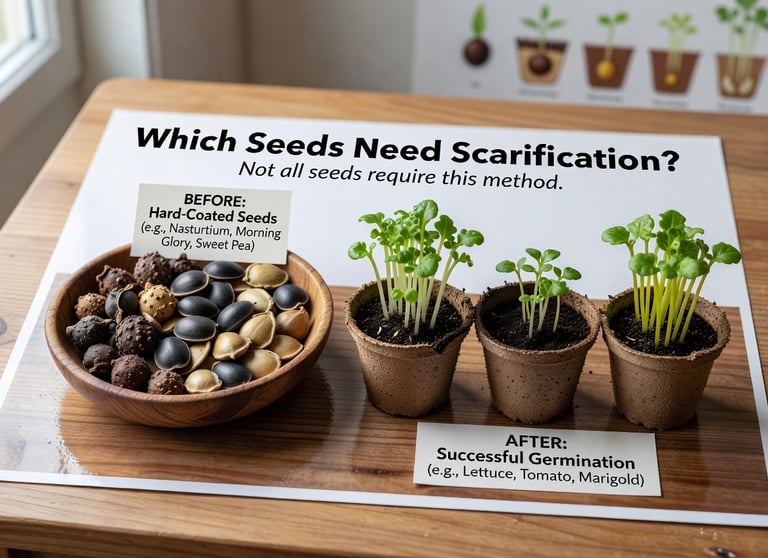
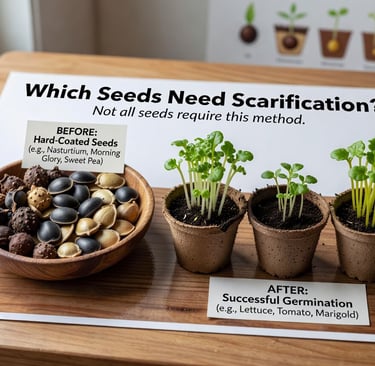
🌿 Which Seeds Need Scarification?
Not all seeds require this method.
Common Seeds That Benefit
Morning glory
Sweet pea
Lupine
Beans
Certain tree seeds
Quick Tip
If seeds are large and hard—scarification may help.
🔬 Why Seed Scarification Works
Scarification allows:
Water to enter the seed
Oxygen to reach the embryo
Faster and more consistent germination
👉 Research from the University of California Agriculture and Natural Resources supports pre-treatment methods for improving germination rates.
🧪 Types of Seed Scarification
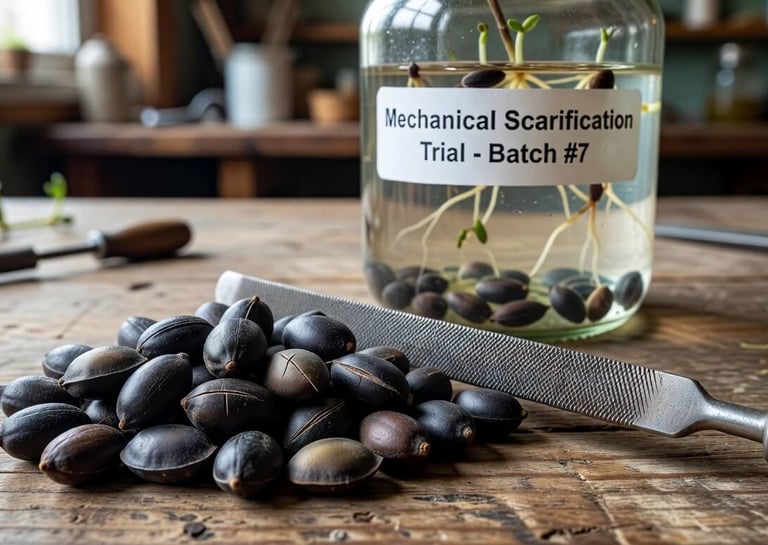
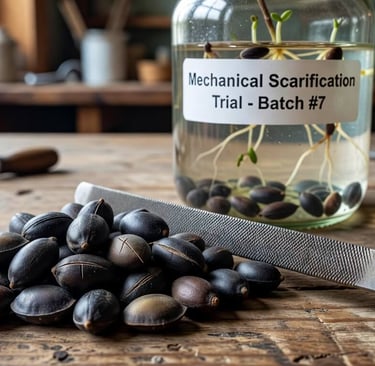
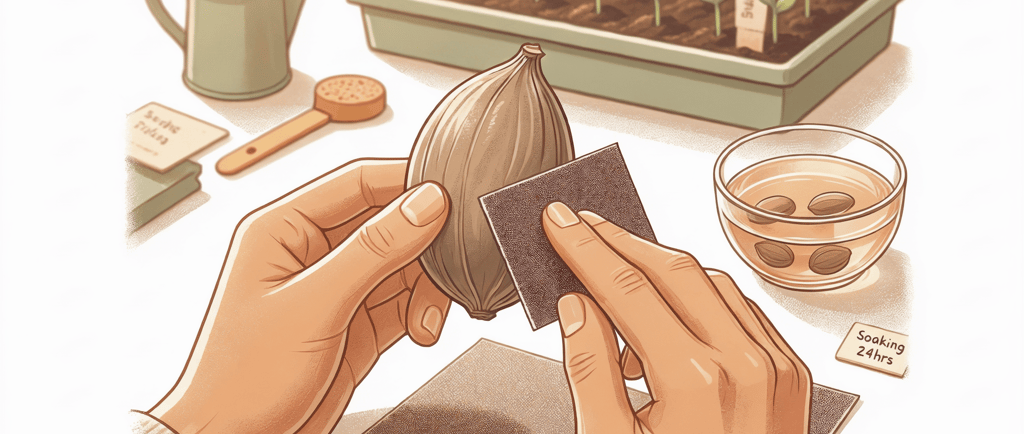
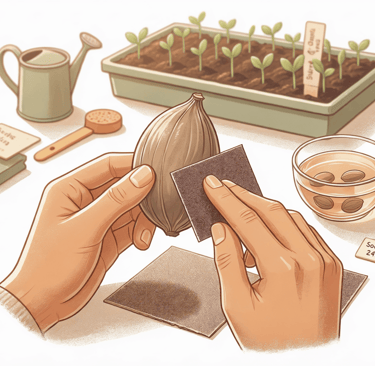
1. Mechanical Scarification
This is the most common method.
How It Works
You physically scratch or weaken the seed coat.
Methods
Sandpaper
Nail file
Knife nicking
Best For
Beginners and home gardeners.
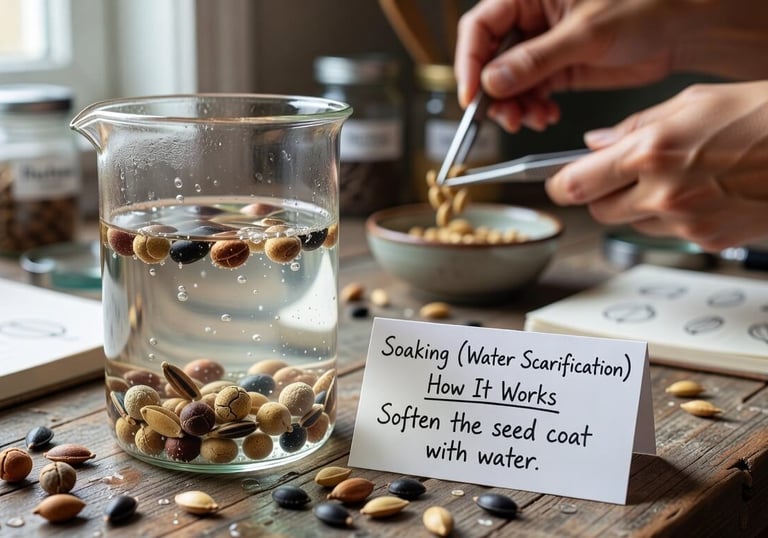
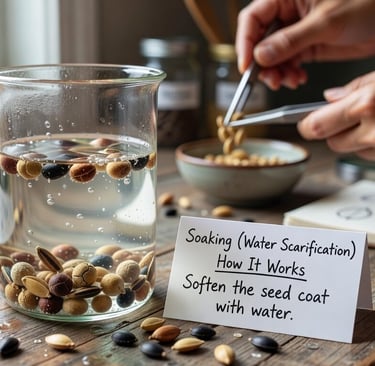
2. Soaking (Water Scarification)
How It Works
Soften the seed coat with water.
Steps
Soak seeds in warm water
Leave for 12–24 hours
Tip
If seeds swell, they’re ready to plant.
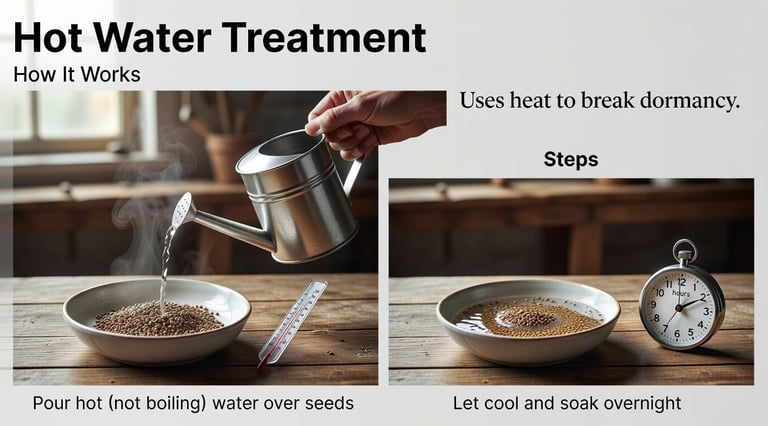
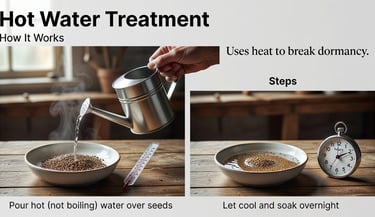
3. Hot Water Treatment
How It Works
Uses heat to break dormancy.
Steps
Pour hot (not boiling) water over seeds
Let cool and soak overnight
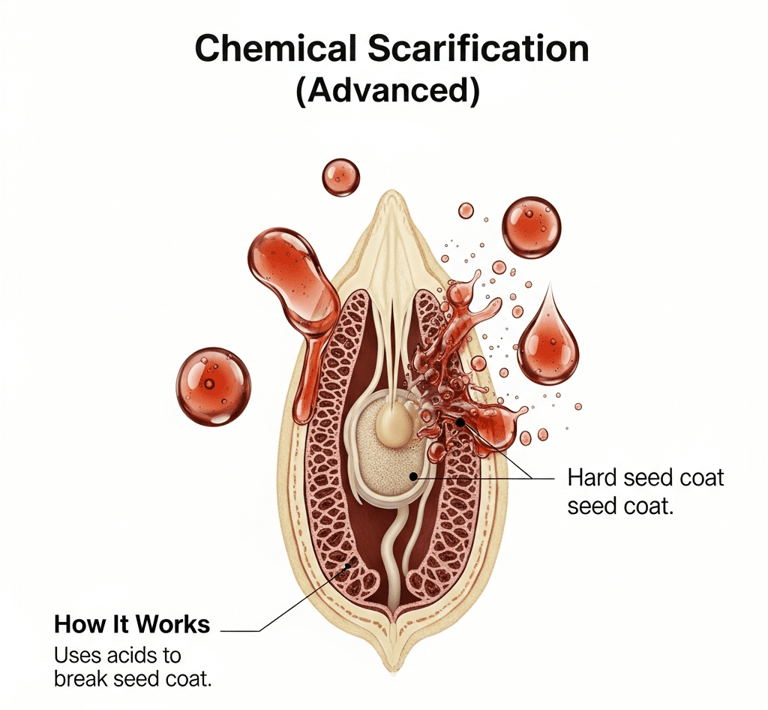
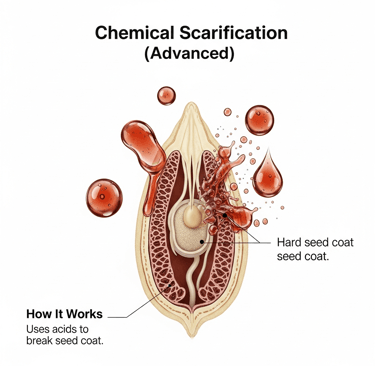
4. Chemical Scarification (Advanced)
How It Works
Uses acids to break seed coat.
⚠️ Not recommended for beginners.
🌱 Step-by-Step: How to Scarify Seeds at Home
Step 1: Identify Seed Type
Check if your seeds have hard outer coating.
Step 2: Choose Method
Small seeds → soaking
Hard seeds → mechanical
Step 3: Scarify Carefully
Scratch lightly
Avoid damaging inner seed
Step 4: Soak Seeds (Optional)
Helps speed up germination.
Step 5: Plant Immediately
Scarified seeds should be planted right away.
🌿 Beginner Tips for Better Germination
Always use fresh seeds
Keep soil moist but not soggy
Provide warmth and light
Label your plants
⚠️ Common Mistakes to Avoid
Over-scratching seeds
Using boiling water
Waiting too long after scarification
Ignoring seed type
🌱 Real-Life Example
A gardener struggled to grow morning glories.
After lightly sanding the seeds:
👉 Germination improved from 20% to nearly 90%.
🛠 Recommended Products (Amazon Picks)
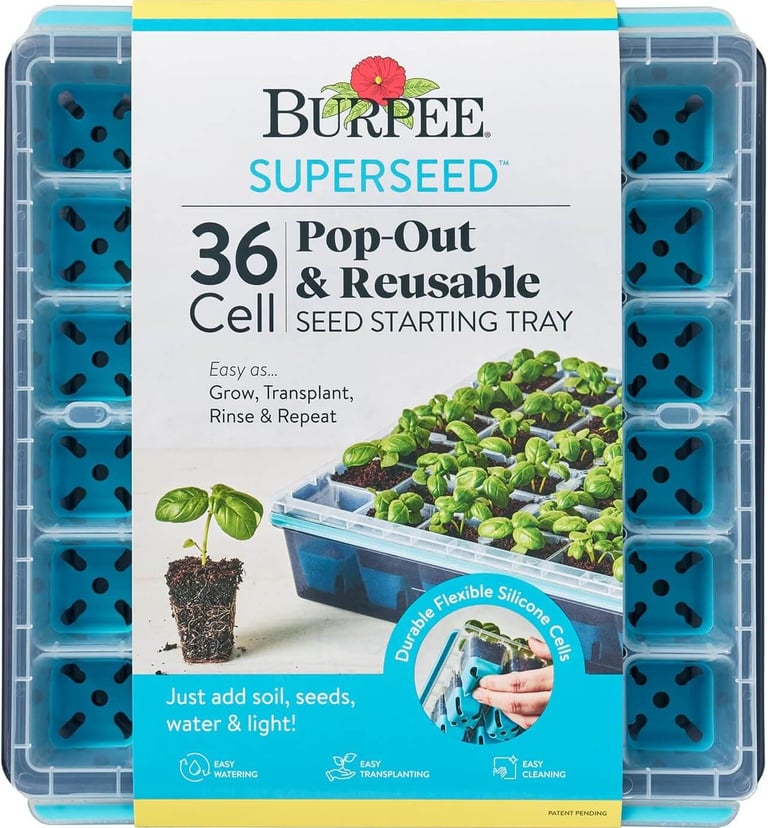
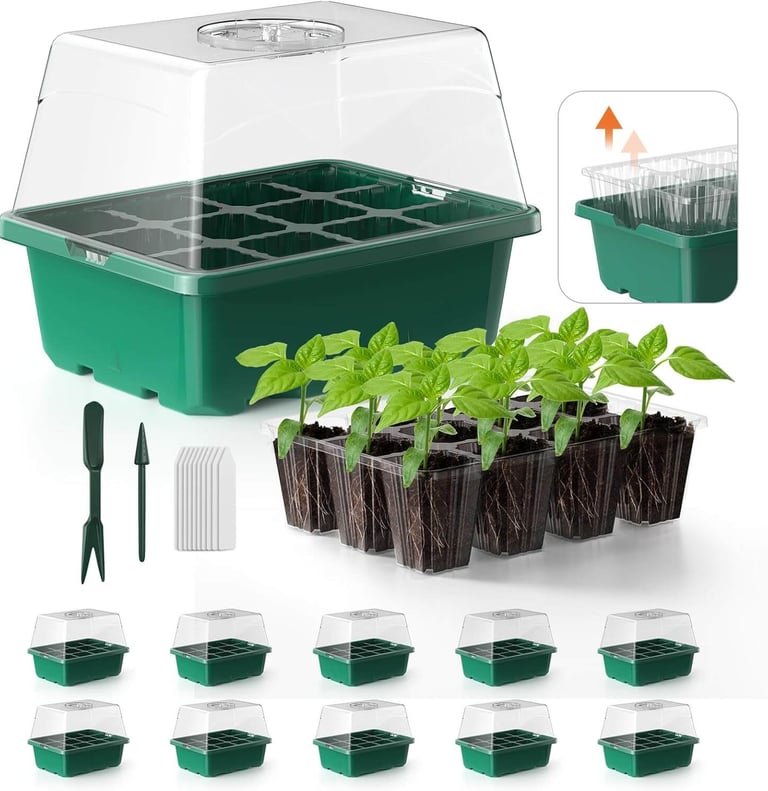
1. Seed Starter Kit
Best For: Beginners
Pros:
✔ Easy setup
✔ Includes trays and soil
Cons:
✘ Limited size
Price Range: $10–$50
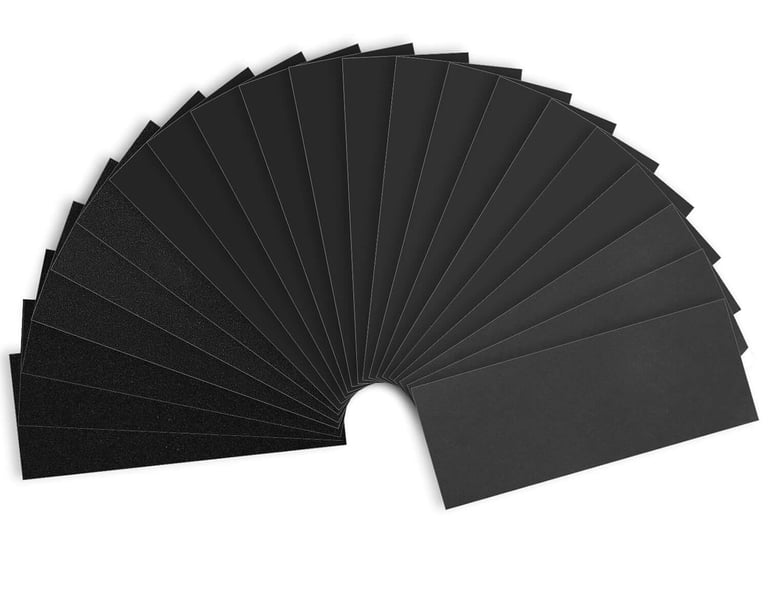
2. Sandpaper Set
Best For: Mechanical scarification
Pros:
✔ Affordable
✔ Easy to use
Cons:
✘ Manual effort
Price Range: $5–$15

3. Seed Soaking Tray
Best For: Water scarification
Pros:
✔ Organized soaking
✔ Reusable
Cons:
✘ Basic function
Price Range: $10–$25
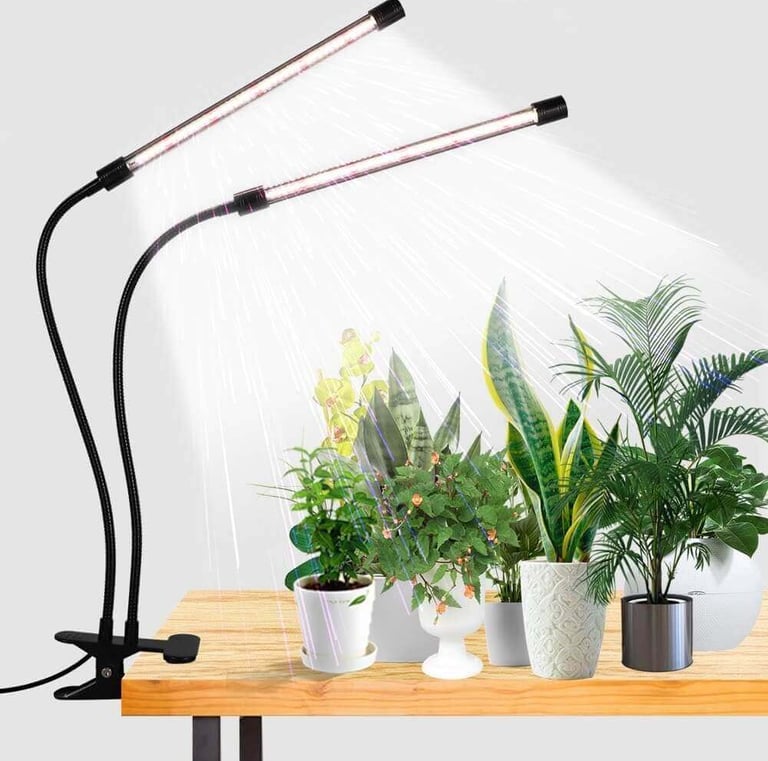
4. Grow Light
Best For: Indoor seed starting
Pros:
✔ Improves growth
✔ Reliable
Cons:
✘ Electricity cost
Price Range: $20–$80
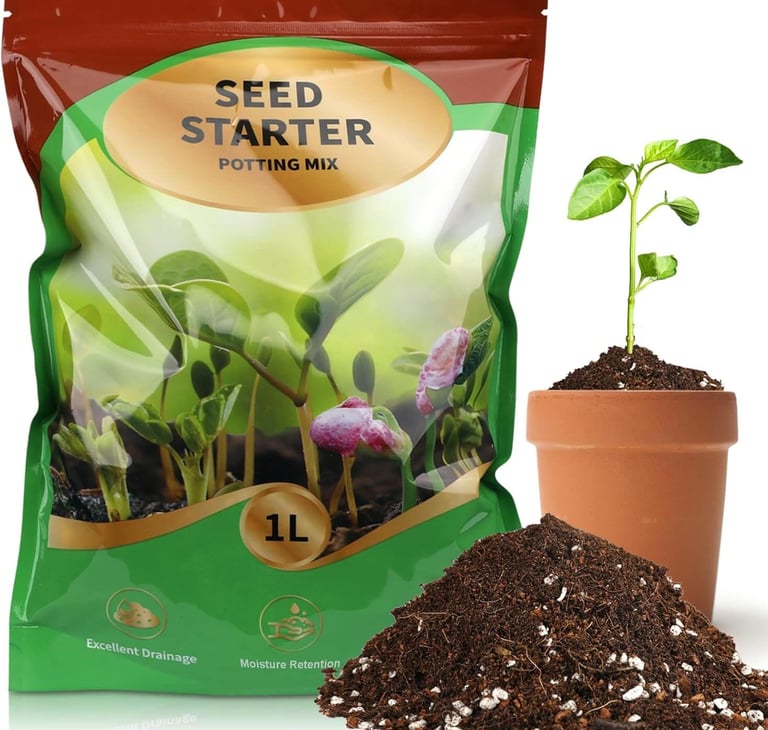
5. Organic Seed Starting Mix
Best For: Healthy seedlings
Pros:
✔ Lightweight
✔ Nutrient-rich
Cons:
✘ Needs watering control
Price Range: $7–$40
👉 Internal link idea: Tips for Faster Seed Germination
Affiliate Disclosure
As an Amazon Associate, HonestGardener.com earns from qualifying purchases at no extra cost to you.
❓ Frequently Asked Questions (FAQ)
What is seed scarification?
It’s a method to break seed dormancy and improve germination.
Do all seeds need scarification?
No, only seeds with hard outer coatings.
Can I skip scarification?
Yes—but germination may be slower or lower.
Is soaking enough?
For some seeds, yes. For others, mechanical scarification works better.
📌 Key Takeaways
Seed scarification improves germination
Best for hard-coated seeds
Multiple methods available
Simple techniques work well at home
🌿 Final Thoughts: Unlock Your Seeds’ Full Potential
Sometimes the difference between failure and success in gardening comes down to one small step.
Seed scarification is that step.
Ready to boost your germination success?
👉 Try seed scarification on your next planting
👉 Explore more expert gardening guides on HonestGardener.com 🌱
Want to Know More on Gardening?
Please Read :
Subscribe
Join us for tips and product reviews.
Contact
Affiliate disclaimer
© 2025. All rights reserved.
As an affiliate, we may earn a commission from qualifying purchases. We get commissions for purchases made through links on this website from Amazon and other third parties.