
Growing Microgreens in Mason Jars Without Soil: The Easy Beginner's Guide to Fresh Indoor Greens
Learn how to grow microgreens in mason jars without soil using simple supplies. Harvest fresh, healthy greens indoors in just 7–10 days.
CONTAINER GARDENING
7/9/20267 min read


Have you ever wanted to grow fresh vegetables at home but thought you needed a backyard or expensive hydroponic equipment?
You're not alone. Many people live in apartments or homes with limited outdoor space, making traditional gardening difficult. The good news is that you can enjoy nutritious, homegrown greens right from your kitchen counter.
Growing microgreens in mason jars without soil is one of the easiest and cleanest ways to grow fresh food indoors. It requires very little space, minimal investment, and no gardening experience. In just a week, you can harvest flavorful microgreens packed with vitamins and antioxidants.
Whether you're looking to eat healthier, save money, or start a simple indoor gardening project, this guide will show you exactly how to succeed.
📖 Table of Contents


What Are Microgreens?
Microgreens are young vegetable or herb seedlings harvested shortly after the first true leaves appear. Unlike sprouts, microgreens grow in light and develop small green leaves, giving them a richer flavor and higher nutrient content.
Popular microgreens include:
Broccoli
Radish
Sunflower
Pea shoots
Kale
Mustard
Arugula
Cabbage
Beet
Cilantro
Although tiny, these greens are incredibly nutritious and can be added to salads, sandwiches, soups, smoothies, and wraps.

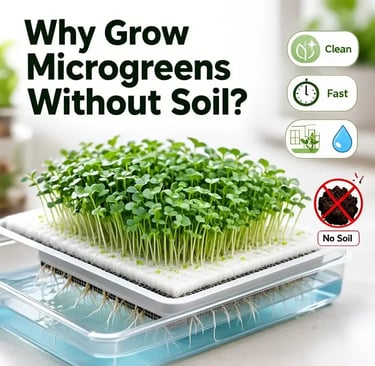
Why Grow Microgreens Without Soil?
Traditional gardening usually requires soil, pots, and outdoor space. Growing microgreens without soil eliminates many common gardening challenges.
Cleaner Indoor Gardening
Without soil, you avoid:
Dirt spills
Muddy countertops
Soil-borne pests
Fungus gnats
Your kitchen stays cleaner while your plants stay healthy.
Faster Growth
Most microgreens are ready to harvest in:
7–10 days
Compared to mature vegetables that may take months, this is an incredibly quick reward.
Less Maintenance
Soil-free systems require:
Less watering
Less cleanup
Minimal maintenance
They're ideal for beginners and busy households.
Excellent for Small Spaces
Whether you live in an apartment, dorm room, or condo, mason jar gardening allows you to grow food almost anywhere with access to natural light.
Why Mason Jars Are Perfect for Growing Microgreens
Mason jars are inexpensive, reusable, and easy to find. They also fit beautifully into modern kitchens, making them both practical and decorative.
Benefits of Mason Jars
✔ Affordable
✔ Easy to clean
✔ Reusable for years
✔ Transparent to monitor moisture
✔ Compact for windowsills
✔ Eco-friendly alternative to plastic trays
When paired with mesh lids or growing screens, mason jars create an efficient system for soil free microgreens.
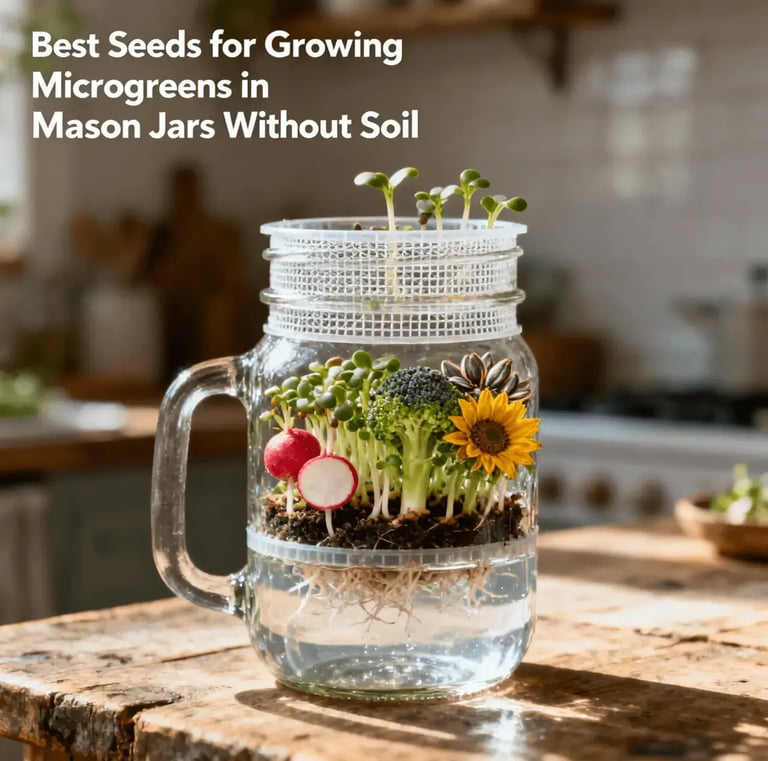
Best Seeds for Growing Microgreens in Mason Jars Without Soil
Not all seeds perform equally well. Some varieties germinate quickly and produce abundant harvests.
1. Broccoli Microgreens
Broccoli microgreens are rich in vitamins A, C, and K and contain beneficial plant compounds.
Flavor: Mild and slightly earthy.
2. Radish Microgreens
Radish is one of the fastest-growing varieties.
Flavor: Peppery with a crisp texture.
3. Pea Shoots
Pea shoots produce tender stems with a sweet taste.
They are excellent in stir-fries and salads.
4. Sunflower Microgreens
Sunflower microgreens have thick stems and nutty flavor.
They're among the most popular varieties for beginners.
5. Kale Microgreens
Kale offers excellent nutrition with a mild flavor suitable for smoothies and salads.
Supplies You'll Need
One reason growing microgreens in mason jars without soil is so popular is that the supply list is simple.
Essential Supplies
Wide-mouth mason jars
Mesh sprouting lids or stainless-steel screens
Organic microgreen seeds
Clean drinking water
Large bowl for soaking seeds
Bright window or LED grow light
Optional:
Spray bottle
Drying rack
Kitchen thermometer
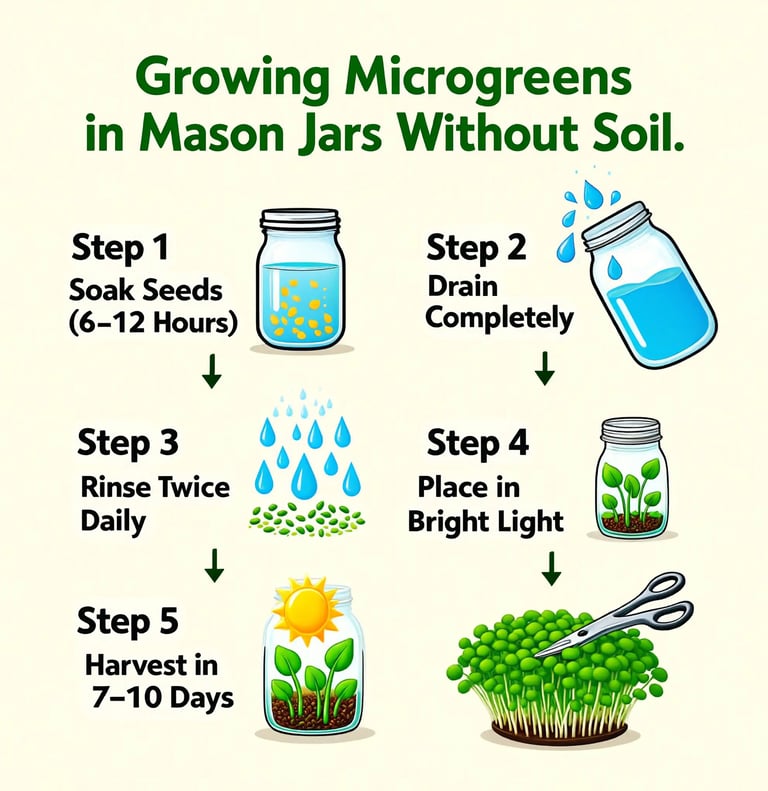
Step-by-Step Guide: Growing Microgreens in Mason Jars Without Soil
Step 1: Choose Quality Seeds
Always purchase seeds labeled specifically for sprouting or microgreens.
Avoid chemically treated garden seeds.
Organic seeds generally produce healthier, safer harvests.
Step 2: Soak the Seeds
Place seeds into a mason jar and add fresh water.
Typical soaking times:
Broccoli: 6–8 hours
Radish: 6 hours
Sunflower: 8–12 hours
Peas: 8–12 hours
Soaking activates germination and speeds up growth.
Step 3: Drain Thoroughly
After soaking:
Drain all water.
Rinse the seeds with clean water.
Drain again completely.
Good drainage is essential to prevent mold.
Step 4: Place the Jar at an Angle
Position the mason jar upside down at roughly a 45-degree angle using a bowl or drying rack.
This allows excess water to drain while improving airflow around the seeds.
Step 5: Rinse Twice Daily
Morning and evening:
Fill the jar with fresh water.
Swirl gently.
Drain completely.
Consistent rinsing keeps seeds hydrated without leaving standing water.
Beginner Tips for Success
Keep jars in a room between 65–75°F (18–24°C).
Avoid direct afternoon sunlight during germination.
Ensure good air circulation to reduce mold risk.
Do not overcrowd the jar with too many seeds.
Use filtered water if your tap water contains high chlorine levels.
Real-Life Example
Sarah, an apartment renter in Chicago, wanted fresh greens year-round but had no outdoor space. She started with a single mason jar of broccoli microgreens on her kitchen windowsill.
Within eight days, she harvested enough greens for several salads. Encouraged by the results, she added jars of radish, kale, and sunflower microgreens. Today, she enjoys a continuous supply of fresh greens while spending far less than buying packaged microgreens at the grocery store.
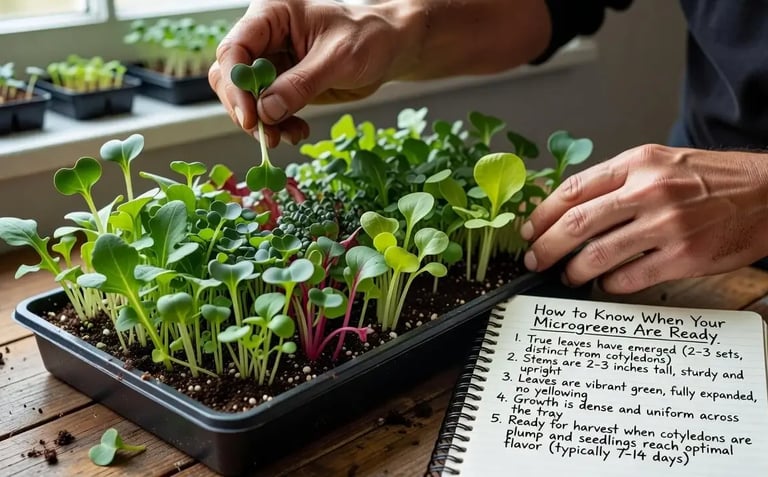
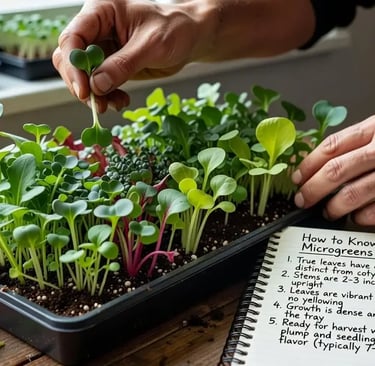
How to Know When Your Microgreens Are Ready
Most microgreens are ready to harvest 7–10 days after soaking, although slower-growing varieties like cilantro may take a little longer.
Look for these signs:
Seedlings are 2–4 inches tall.
The first true leaves have started to appear.
Stems are upright and vibrant.
Leaves are bright green and healthy.
Harvesting too early may reduce flavor, while waiting too long can make the greens tougher.
How to Harvest Microgreens
Harvesting is quick and easy.
Step 1
Use clean, sharp scissors or herb snips.
Step 2
Cut the stems just above the root or growing medium.
Step 3
Avoid pulling the seedlings out, as this may introduce debris into your harvest.
Step 4
Rinse lightly if necessary and pat dry with a clean towel.
Fresh microgreens are best eaten immediately, but they also store well.
How to Store Fresh Microgreens
Proper storage helps preserve freshness and nutrients.
Best Storage Tips
Dry the greens thoroughly before refrigerating.
Store in an airtight container.
Place a paper towel inside to absorb excess moisture.
Refrigerate immediately.
Most varieties stay fresh for 5–7 days.
Common Problems and Easy Solutions
Even experienced gardeners occasionally run into issues. Fortunately, most problems are easy to fix.
Mold Growing on Seeds
Possible Causes
Poor airflow
Too much moisture
Seeds packed too tightly
Solution
Drain jars completely after every rinse.
Increase air circulation.
Use fewer seeds in each jar.
Slow Germination
Possible Causes
Old seeds
Low room temperature
Insufficient soaking time
Solution
Always buy fresh seeds and keep the growing area between 65–75°F (18–24°C).
Yellow Seedlings
Young seedlings often appear yellow before they're exposed to light.
Simply move the jar to a bright location or under an LED grow light. Within a day or two, the leaves should turn green.
Unpleasant Odor
Healthy microgreens should smell fresh.
A sour smell usually indicates poor drainage or bacterial growth.
Clean the jar thoroughly before starting another batch.
Beginner Tips for Better Results
If you're new to how to grow microgreens indoors, these habits will improve your success rate.
Start with fast-growing varieties like broccoli or radish.
Grow one variety per jar to simplify care.
Label each jar with the seed type and planting date.
Clean jars thoroughly between harvests.
Harvest regularly to maintain a continuous supply.
Best Amazon Products for Growing Microgreens
Below are beginner-friendly products commonly used for indoor microgreen gardening.
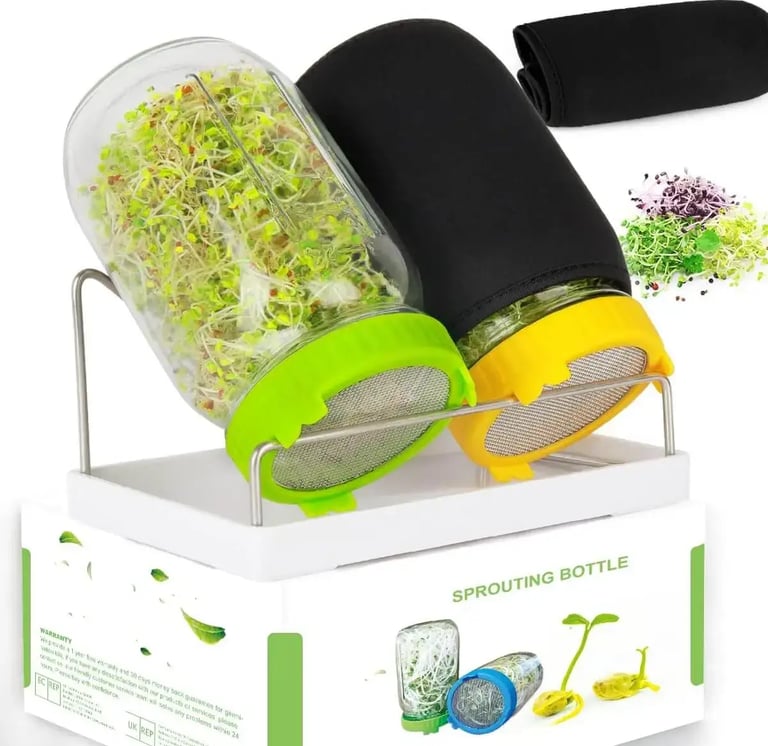
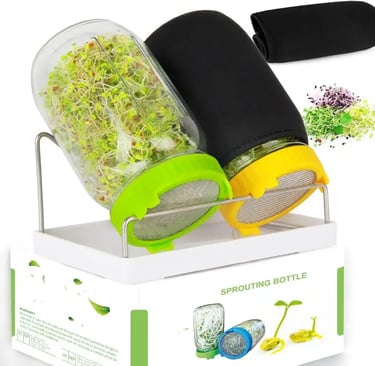
1. Wide-Mouth Mason Jar Starter Kit
Best For: Beginners
Pros
Reusable glass jars
Easy to clean
Great value
Cons
Glass can break if dropped
Limited growing space per jar
Price Range: $20–$35
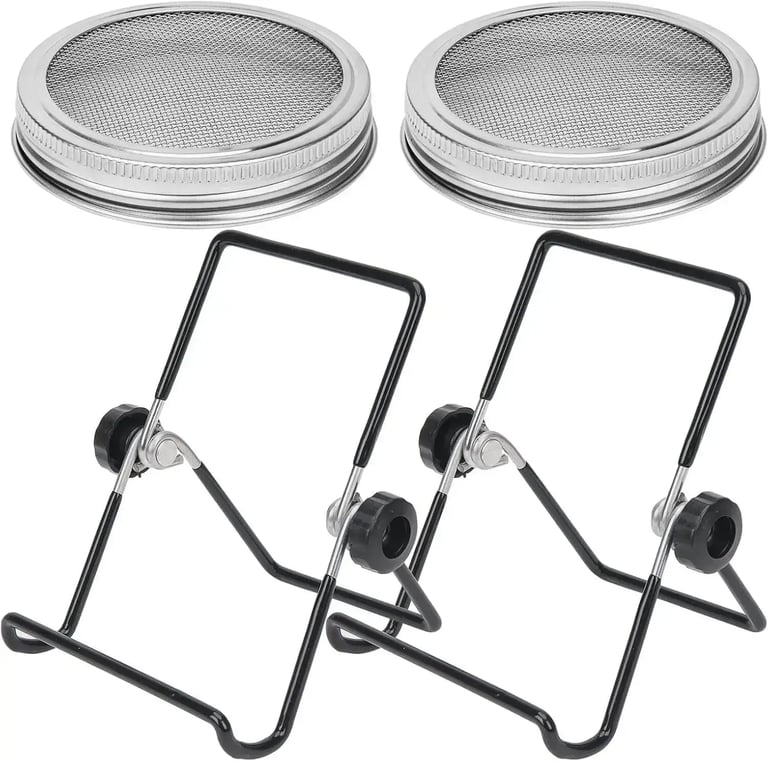
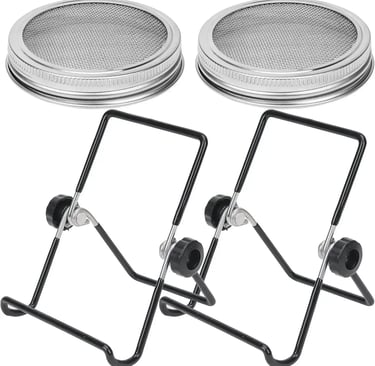
2. Stainless Steel Mesh Sprouting Lids
Best For: Better drainage
Pros
Rust-resistant
Improves airflow
Dishwasher safe
Cons
Fits only compatible jars
Slightly higher cost than plastic lids
Price Range: $10–$20
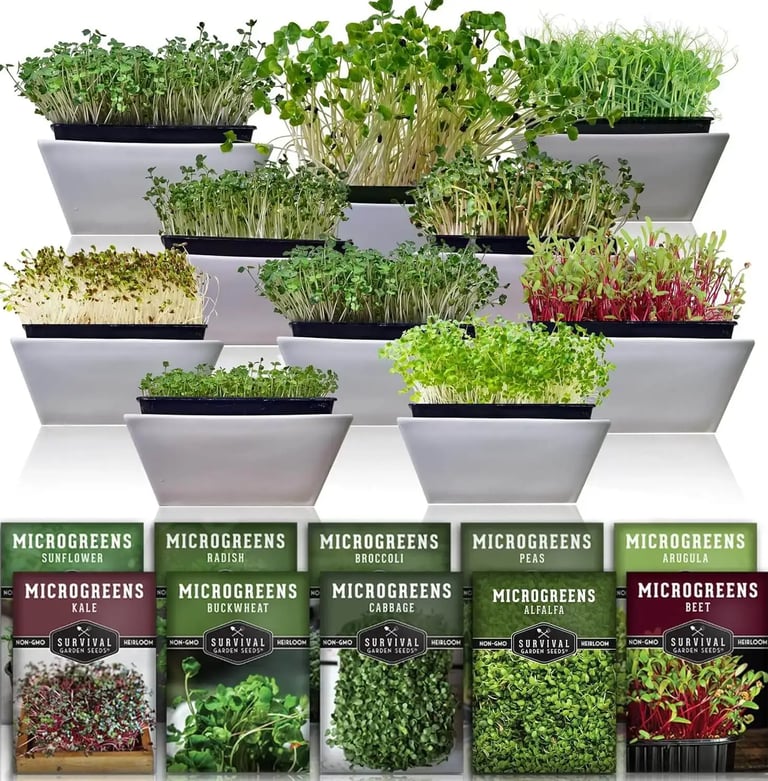
3. Organic Microgreen Seed Variety Pack
Best For: Growing multiple crops
Pros
High germination rate
USDA Organic options available
Wide seed selection
Cons
Some varieties germinate at different speeds
Price Range: $18–$40

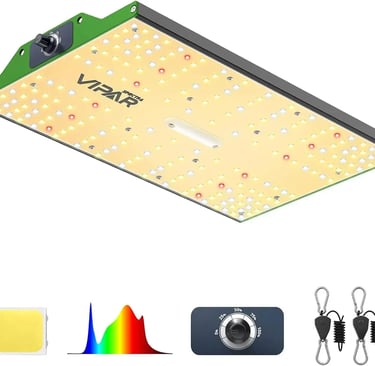
4. Full-Spectrum LED Grow Light
Best For: Homes with limited sunlight
Pros
Energy efficient
Supports healthy growth
Adjustable brightness
Cons
Requires electricity
Higher initial investment
Price Range: $30–$70
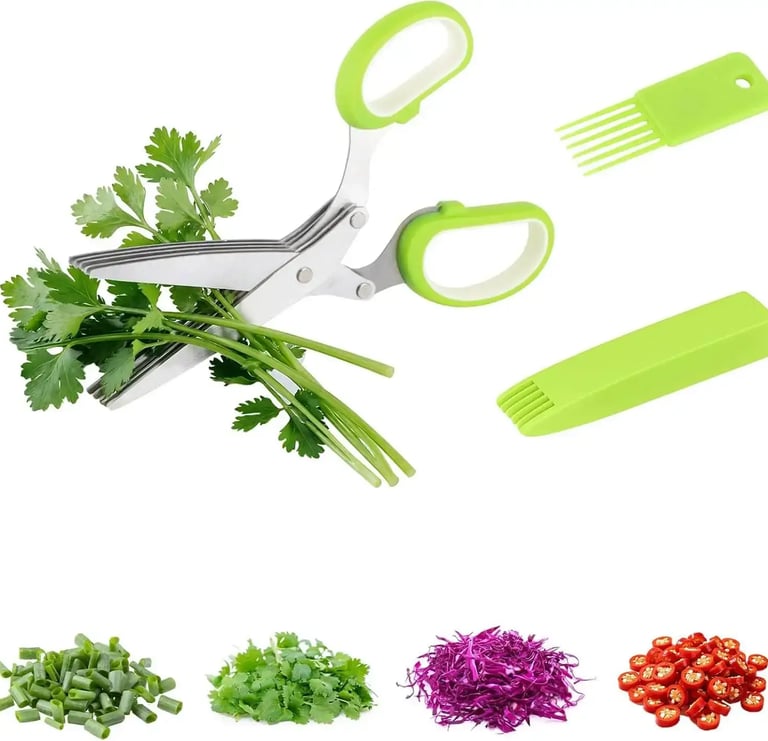
5. Kitchen Herb Scissors
Best For: Harvesting
Pros
Clean cuts
Comfortable grip
Easy to wash
Cons
Not suitable for larger plants
Price Range: $10–$20
Affiliate Disclosure
Disclosure: HonestGardener.com participates in the Amazon Associates Program. As an Amazon Associate, we earn from qualifying purchases at no additional cost to you.
Frequently Asked Questions
Can you really grow microgreens without soil?
Yes. Many varieties grow successfully in mason jars using only water, proper drainage, and adequate light.
Which microgreens are easiest for beginners?
Broccoli, radish, pea shoots, and sunflower microgreens are among the easiest to grow.
Do microgreens need direct sunlight?
No. Bright indirect sunlight or a quality LED grow light works well.
How often should I rinse the seeds?
Twice daily is ideal for most varieties.
Are homegrown microgreens healthier?
Freshly harvested microgreens retain excellent flavor and nutrients and can be a nutritious addition to a balanced diet.
Key Takeaways
Growing microgreens in mason jars without soil is inexpensive and beginner-friendly.
Most varieties are ready to harvest within 7–10 days.
Proper drainage and airflow are the keys to preventing mold.
Mason jars are reusable, eco-friendly, and perfect for small-space gardening.
With only a few supplies, you can enjoy fresh greens throughout the year.
Final Thoughts
Growing your own food doesn't require a large backyard or expensive equipment. With a few mason jars, quality seeds, and a bright windowsill, you can enjoy fresh, flavorful microgreens in just over a week.
This simple project is perfect for beginners, apartment dwellers, and anyone who wants a steady supply of nutritious greens while making the most of limited space. Once you've mastered one variety, experiment with different seed mixes to enjoy new flavors and textures year-round.
Ready to Start Growing?
Gather your supplies, choose your favorite microgreen seeds, and begin your first batch today. Before long, you'll be harvesting fresh indoor greens right from your kitchen.
For more practical gardening tutorials, product reviews, and beginner-friendly guides, explore more articles on HonestGardener.com.
Want to Know More on Gardening?
Please Read :
Subscribe
Join us for tips and product reviews.
Contact
Affiliate disclaimer
© 2025. All rights reserved.
As an affiliate, we may earn a commission from qualifying purchases. We get commissions for purchases made through links on this website from Amazon and other third parties.